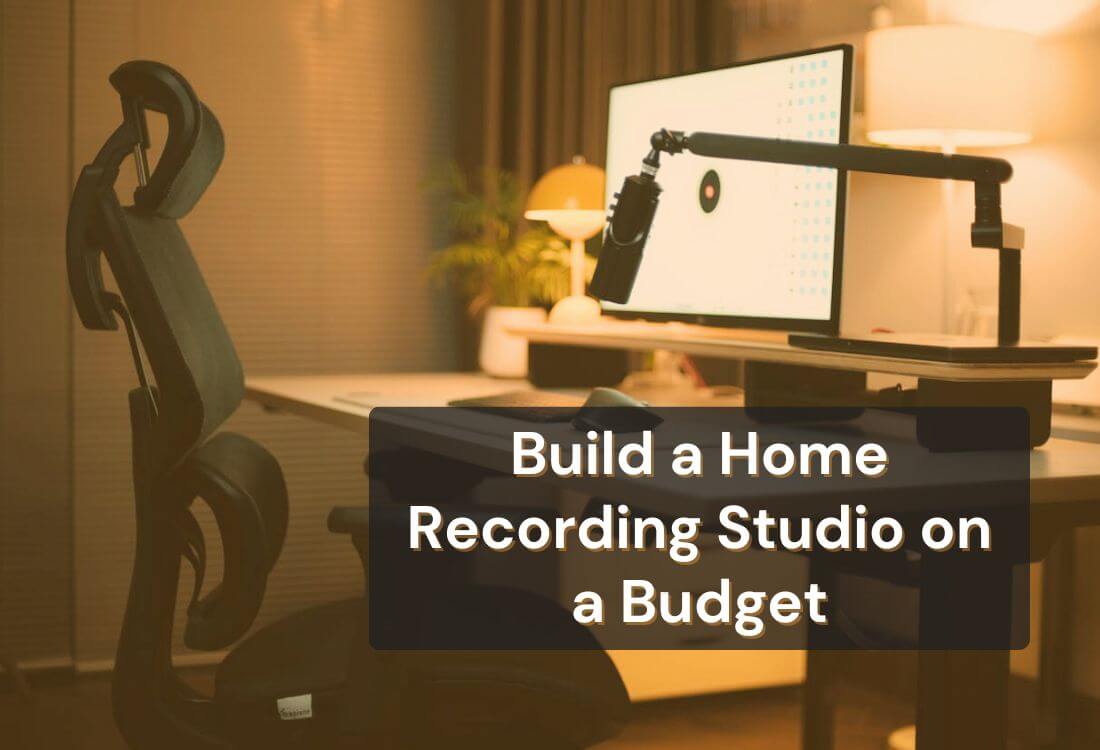


Building a home recording studio on a budget is more practical than ever for musicians, podcasters, and content creators. Modern audio gear and recording tools are now accessible at prices that are more affordable, allowing anyone to set up a home studio setup that delivers professional-quality sound.
You don’t need a large space or expensive technology to start. With a few smart choices and some creativity, you can transform a quiet corner of your home into a DIY recording space that supports your projects. The goal is to focus on essential gear, smart placement, and affordable soundproofing techniques that make a noticeable difference.
This guide walks you through each step of the process. You’ll learn how to plan your DIY recording space, choose affordable studio gear, and use recording software for beginners that fits your workflow. The focus is on practical choices that help you record efficiently while keeping costs low.
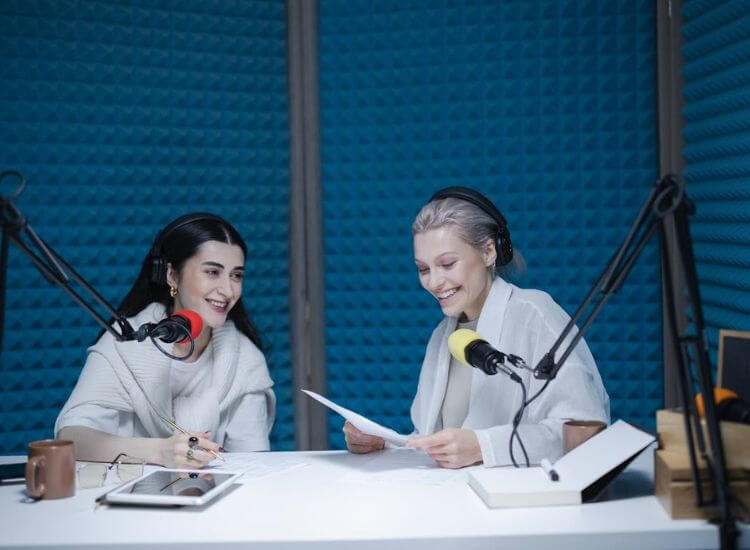
Every great recording starts with the right environment. Select a quiet, comfortable room free from distractions. A medium-sized space often works best since smaller rooms can feel restrictive and larger ones may cause echo.
Look for soft furnishings such as carpets and curtains, which help absorb sound. Avoid hard reflective surfaces like glass or tile, as they can create harsh sound reflections. Think of this as the foundation of your DIY recording space. The goal is to shape an environment that naturally supports quality audio.
Good acoustics don’t require expensive materials. You can improve your sound using simple and affordable solutions. Hang thick curtains, add rugs, or fill bookshelves to absorb sound reflections. If you want to enhance your setup further, consider inexpensive acoustic foam or panels made from dense fabric.
Focus on treating walls behind your microphone and along reflection points. These small adjustments reduce echo and help produce cleaner recordings. With a few creative touches, you can achieve balanced sound without high costs.

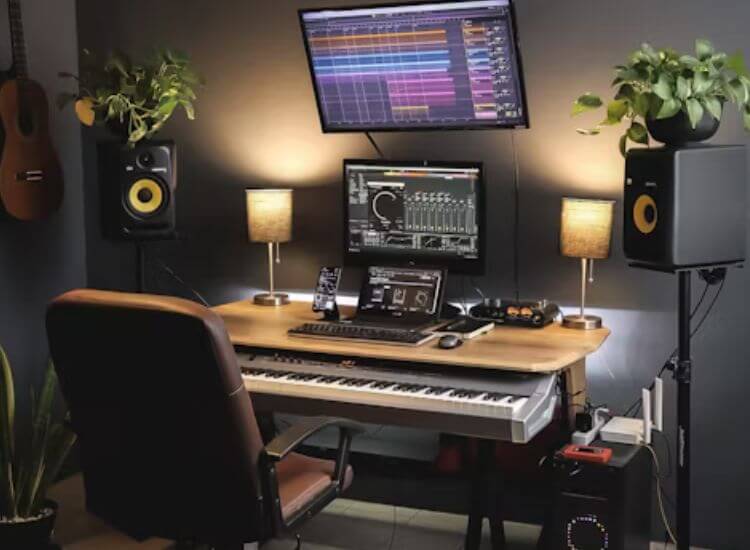
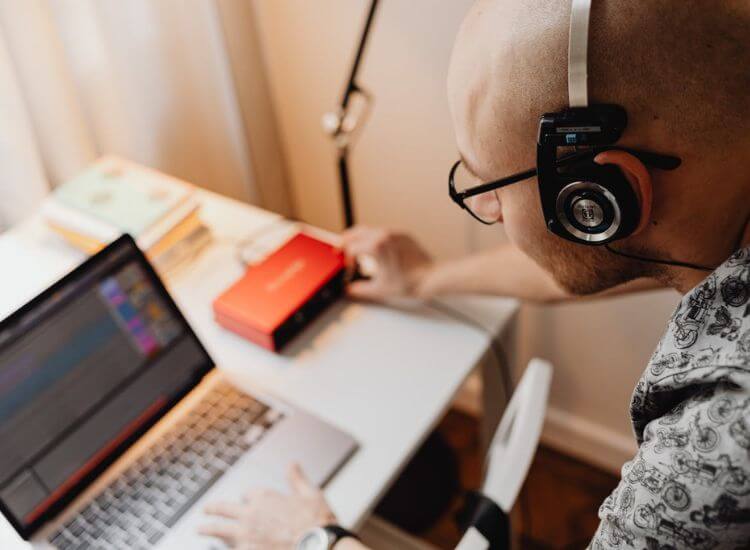
When building a home recording studio setup on a budget, start with equipment that directly affects your sound quality. You don’t need every device used in professional studios. Begin with affordable studio gear such as a quality microphone, audio interface, headphones, and a reliable computer.
Look for the best cheap microphones that provide clarity and warmth without stretching your budget. USB microphones are a simple option for beginners, while XLR microphones paired with an audio interface offer more control for advanced users.
Plan your purchases around what impacts your recordings the most. A microphone and an audio interface usually make the biggest difference in sound quality, so prioritize them first. Many creators start with a mid-range mic and gradually upgrade as their projects expand.
For computers, check if your current system can handle recording tasks before buying new hardware. If you need an upgrade, refurbished models often deliver strong performance for a fraction of the price. Headphones are another essential piece, allowing you to monitor and mix accurately. You can find affordable options that still offer balanced frequency response and comfort for long sessions.
Avoid rushing into multiple purchases. Research thoroughly, read user reviews, and learn what works best for your setup. Each piece of equipment you choose should serve a clear purpose in your creative process.
A well-treated recording environment can transform your sound. Focus on controlling reflections and outside noise rather than chasing total silence. Start with easy adjustments like sealing door gaps, hanging thick curtains, and placing rugs on hard floors.
Furniture and household materials can help absorb sound naturally. Arrange your desk and microphone away from reflective surfaces and test different placements to find the cleanest tone.
Comfort matters as much as sound control. Arrange your setup so every piece of equipment is within reach. Keep cables tidy, screens at eye level, and lighting bright enough for long recording sessions.
Your DIY recording space doesn’t need advanced tools or expensive materials. Many creators improve their sound using items already at home, keeping costs low while maintaining clarity. Once your space feels organized and comfortable, you’ll find your sessions more focused and productive.
Your software is the heart of your recording process. The Digital Audio Workstation, or DAW, is where you record, edit, mix, and fine-tune your sound. The good news is that you don’t need expensive software to get started. Many recording software options for beginners are completely free and powerful enough to produce high-quality results.
Programs like Audacity, Cakewalk by BandLab, and GarageBand are ideal starting points. They offer clean interfaces, reliable performance, and essential tools for recording and mixing. As you grow more experienced, you can explore paid DAWs such as Reaper, Studio One, or Ableton Live, depending on your workflow and creative goals.
Focus on software that matches your workflow and computer specs. A simple interface helps you stay creative and minimizes setup time.
Plugins enhance your DAW by adding effects, instruments, and mastering tools. Many free plugins deliver excellent quality for mixing and production. Experiment with EQ, compression, and reverb to learn how they shape your sound.
Start small and expand as you gain confidence. A few well-chosen tools are more valuable than a large collection you rarely use.
Learning is an ongoing part of building your home recording setup. The internet offers a wealth of free materials that can help you sharpen your recording and production skills. Video platforms such as YouTube feature countless tutorials on mixing, mastering, and sound design. Online forums and community groups are also valuable spaces to ask questions and learn from experienced creators who share your passion for recording.
You can also explore free courses or guides that focus on specific software, like Audacity or GarageBand, to help you master the tools you already use. The more you understand your setup, the better your results will be. Every adjustment, from mic placement to plugin selection, becomes an opportunity to grow.
Progress comes from practice and curiosity. Your first few recordings may not sound perfect, and that’s completely fine. Each session helps you understand your space, your equipment, and your personal workflow. Experiment with microphone positions, soundproofing methods, and software effects until you find what works best for your creative process.
Small improvements in technique often lead to big changes in quality. Treat each project as a test bed for new ideas, and over time, you’ll develop a professional workflow that fits your recording style. With consistent effort, your results will become cleaner, sharper, and more polished.
A well-planned budget home studio setup can deliver professional results when paired with the right tools. Teleprompter.com helps creators maintain confidence and flow during recording sessions. You can read scripts smoothly, stay connected with your audience, and reduce editing time.
The app includes adjustable scrolling speed, customizable text size, and syncing across devices, making it an ideal addition to any DIY recording space. It fits seamlessly into your setup and helps you record faster with better consistency.
If you want to simplify your recording sessions and improve delivery quality, try Teleprompter.com today. It’s an easy, affordable way to make your productions smoother and more professional without changing how you work.
Sign up at Teleprompter.com and start recording with clarity and confidence.
Building a home recording studio on a budget is achievable with the right mindset and planning. Each step, from choosing your space to selecting essential gear, contributes to a setup that fits both your goals and your budget. With a focus on practical solutions, affordable equipment, and consistent practice, you can create professional-quality recordings from the comfort of your home.
Stay curious, keep improving, and use tools that make your workflow smoother. With dedication and creativity, your DIY recording space can become the foundation of your best work.
You can start for around $300–$800 using affordable studio gear, free software, and simple DIY soundproofing techniques.
Begin with a quality microphone, an audio interface, and headphones. These essentials give the biggest impact on sound quality.
Yes. With the best budget microphones, proper setup, and basic acoustic treatment, you can achieve clear, professional sound.
Free tools such as Audacity, Cakewalk by BandLab, or GarageBand are user-friendly and offer all the necessary features for beginners.
Use rugs, curtains, and bookshelves to absorb echoes. These simple additions help enhance audio clarity without high costs.