

Recording a presentation goes beyond capturing a set of slides. It’s about creating a resource that feels clear, engaging, and ready to share. From business pitches to online lessons and product demos, the right screen recording software helps you deliver information with confidence while giving your audience a reason to stay focused.
Finding the best screen recording software for presentations comes down to balancing simplicity, editing options, and cost. Some tools are designed for quick, shareable clips, while others give you professional-grade control for detailed projects. To help you choose the right fit, here are seven standout options:
This list highlights the leading choices of screen recording software for creating presentation-style videos, emphasizing the unique strengths of each.
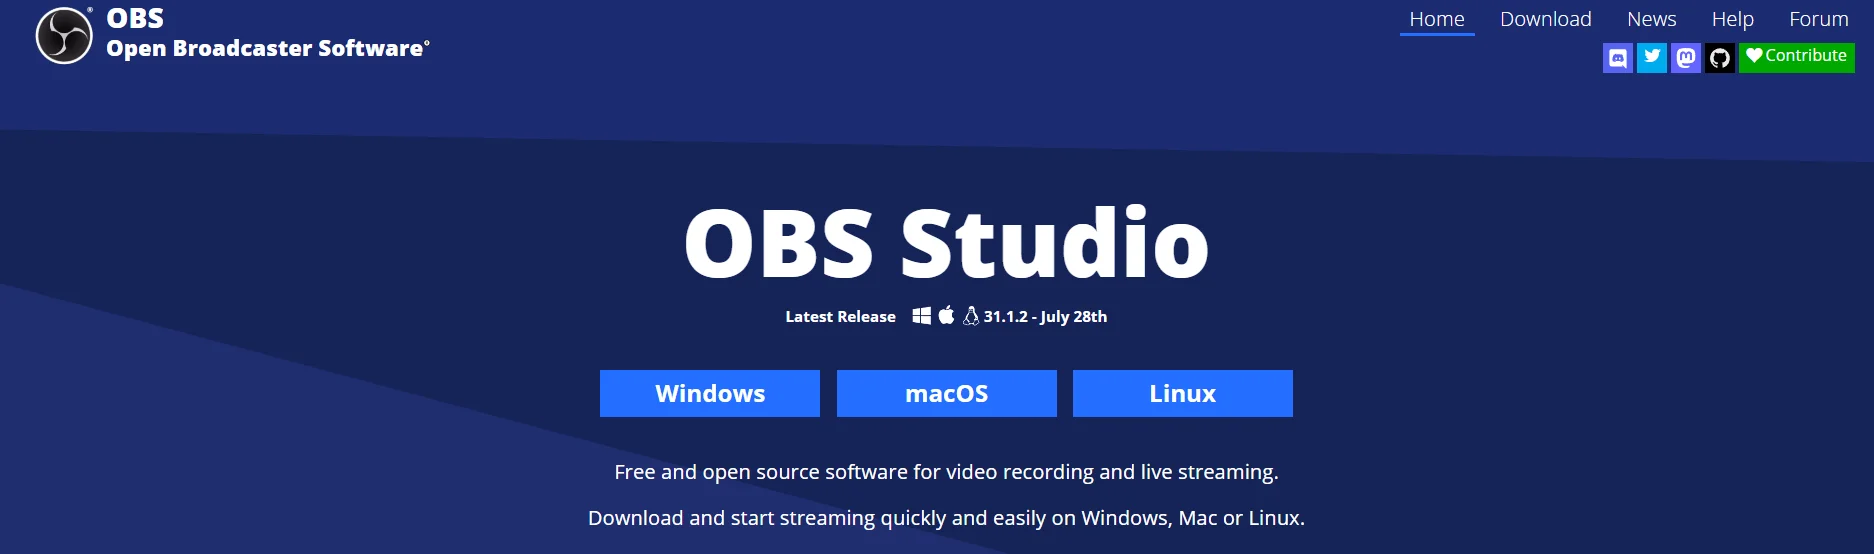
OBS Studio is a powerful free, open-source screen recording and live streaming program. It’s widely used by gamers and content creators, but it’s just as capable for recording presentations or tutorials in high quality. OBS lets you capture multiple sources at once, for example, your entire screen, a specific application window, and your webcam, and combine them into one video with custom layouts.
You also get advanced controls like audio mixing (with noise reduction filters) and scene transitions for a polished result. However, because OBS is so feature-rich, it can feel overwhelming for first-timers. There’s no built-in video editor, so you’ll need separate editing software if you want to cut or annotate your footage. But if you don’t mind the learning curve, OBS Studio provides virtually every tool you need to record and stream professional-looking videos – and it won’t cost you a cent.
Key Features:
Pros:
Cons:
Pricing: Free (open source)
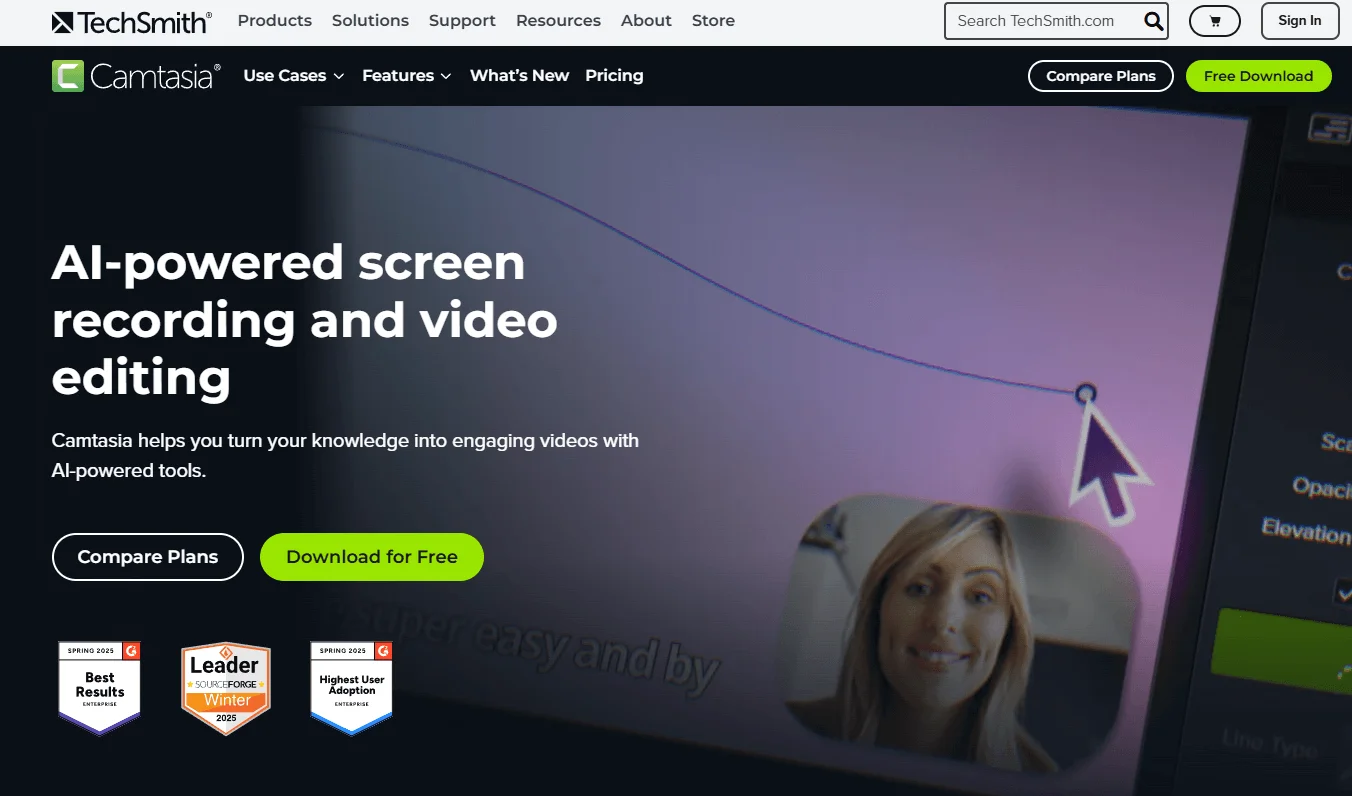
Camtasia is a veteran screen recording software that pairs an easy capture tool with a full-featured video editor. It’s built for creating polished presentations, training videos, and demos without needing multiple apps. With Camtasia, you can record anything on your screen (the entire desktop or a specific region) along with optional webcam footage and microphone audio.
What sets Camtasia apart is what comes after you hit record: its integrated editor lets you add annotations, titles, zoom effects, highlights, transitions, and more to turn raw footage into a refined video. Despite this extensive feature set, users find Camtasia’s interface intuitive, it’s designed to be powerful yet beginner-friendly, so you’re not overwhelmed while editing.
We’ve found that recording with Camtasia is flawless, and the editing capabilities are incredibly powerful, which truly sets it apart from most competitors. The main drawback is cost: Camtasia carries a premium price tag, so it’s best for power users or professionals who will make use of its robust features.
Key Features:
Pros:
Cons:
Pricing: $299 one-time (trial available) / $180/yr
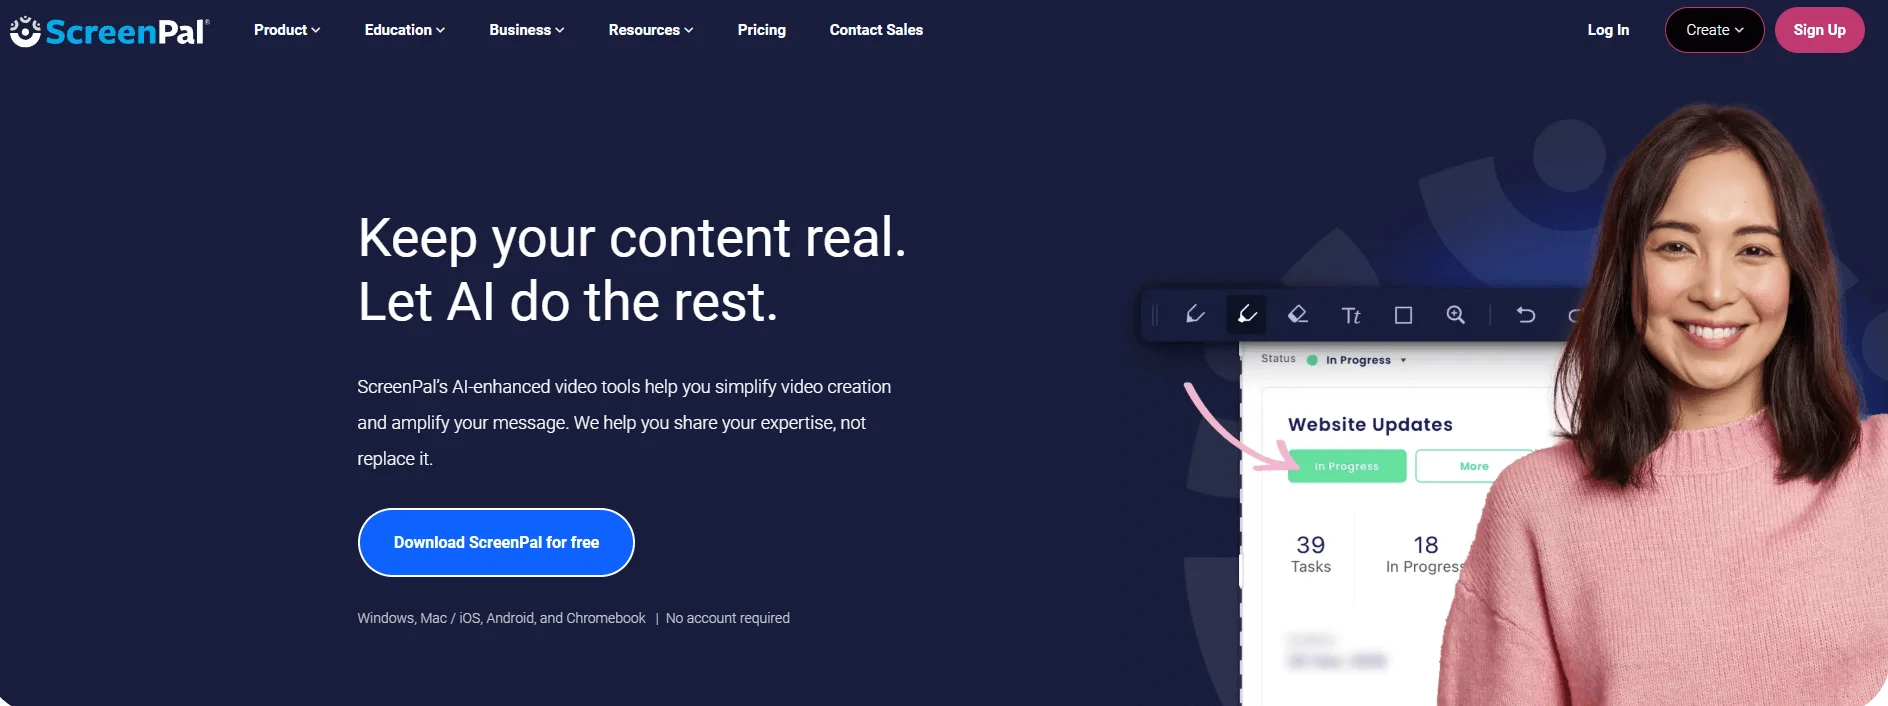
ScreenPal is a friendly screen recorder that’s great for educators, students, or anyone who needs to create presentation videos without a steep learning curve. In fact, ScreenPal is so straightforward that if you’ve never recorded your screen before, you can get started in minutes. It allows you to record your screen or a specific area, with the option to include webcam footage and voice narration.
You can capture system audio as well (though on Windows, recording system sound may require an upgrade to a paid plan). Once you’ve recorded a clip, ScreenPal’s built-in editor lets you do simple polish-up tasks: trim out mistakes, add captions or arrows, zoom in on important content, or even draw on the screen to highlight something during the video. These editing features are quite robust for a budget tool, there’s support for overlays, transitions between scenes, adding background music, and more.
While it’s not as advanced as professional suites, we haven’t seen any free screen recorder that offers near this array of features out-of-the-box. The free version does come with limitations (15-minute recording length per video, and no option to record computer audio unless you upgrade) but it does not slap a watermark on your videos, which is a big plus. If you need more, the paid plans are extremely affordable, making ScreenPal a top choice for budget-conscious creators who still want editing capabilities.
Key Features:
Pros:
Cons:
Pricing: Free with limits; paid from $3/mo
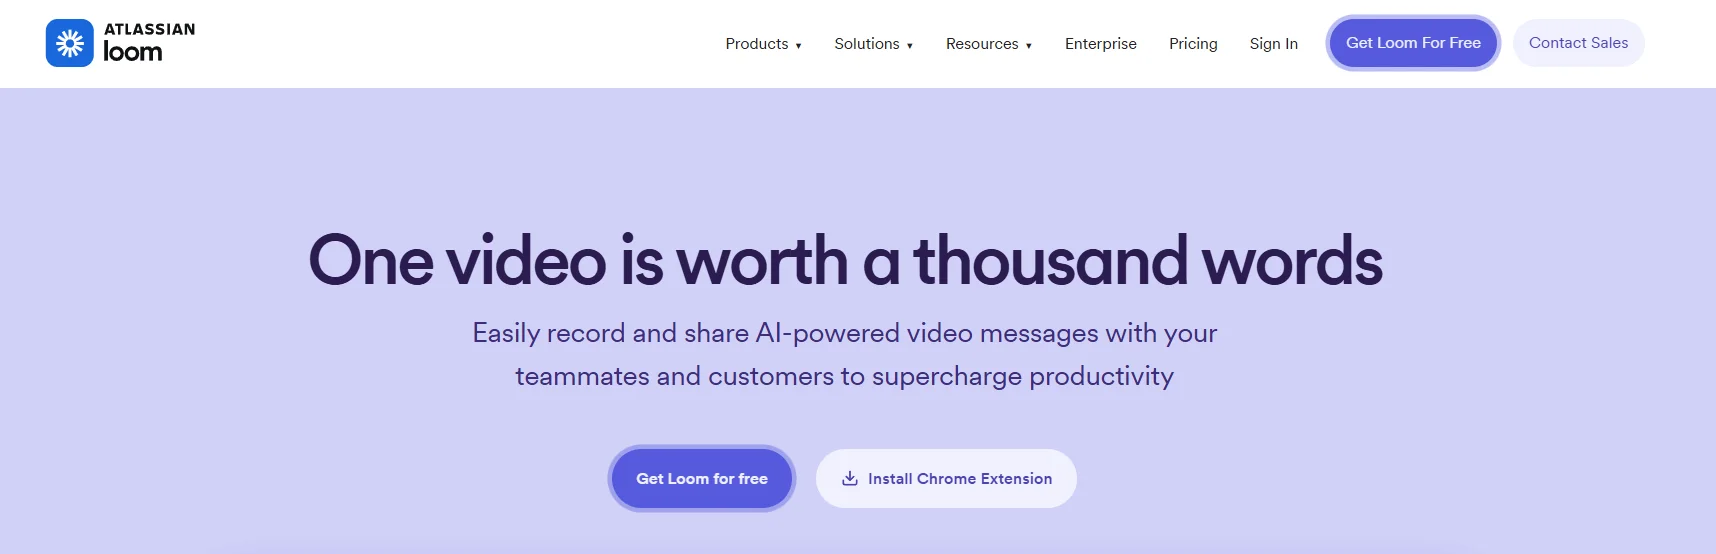
Loom takes a modern approach to screen recording: it’s designed less like a traditional screencast tool and more like a quick video messaging service. The idea is simple, you hit record to capture your screen (and optionally your webcam in a little bubble on the corner), talk through whatever you need to explain, and when you’re done the video is immediately available via a shareable link.
This makes Loom fantastic for speedy walkthroughs, design reviews, or any situation where typing out an explanation would take too long. It’s available on pretty much every platform, there are desktop apps for Windows and Mac, a Chrome browser extension, and mobile apps, so you can record a Loom from anywhere. Once you share your Loom video, viewers can leave comments or emoji reactions at specific timestamps, which is excellent for feedback and collaboration.
Using Loom is very straightforward. For example, on desktop, you click the Loom icon, choose whether to capture your screen, webcam, or both, and start recording. There’s no complex setup; it’s perfect even for novice users with no video editing experience. After you stop recording, Loom’s web interface lets you do a few light edits like trimming the start/end or adding a call-to-action button. It’s not a full editor by any means, but it covers basics for polishing a quick clip. The real strength of Loom is how effortlessly it lets you share and interact. Instead of sending a large video file, you just send a link. The recipient can play it instantly in their browser, react, or even download a copy if needed.
Key Features:
Pros:
Cons:
Pricing: Free with limits; Business $12.50–$15/user/mo
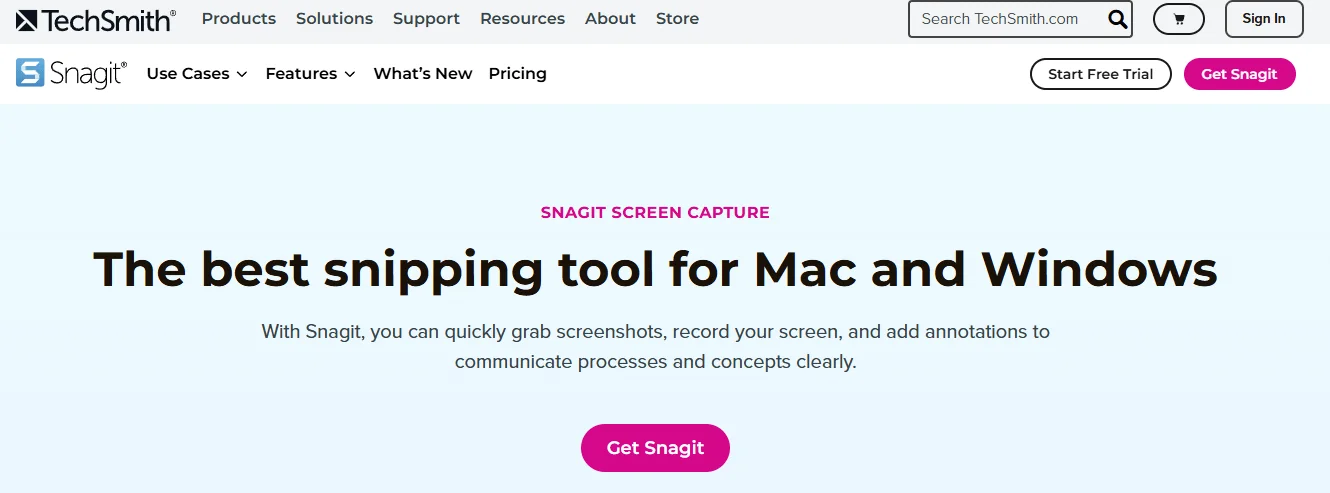
Snagit is a lightweight screen capture tool from TechSmith (the same company behind Camtasia) that specializes in screenshots but also handles short screen recordings with ease. Think of Snagit as the swiss army knife for creating visual how-tos: you can grab a screenshot, annotate it, or record a quick video clip of your screen to demonstrate something. It’s perfect for when you want to augment a presentation or document with clear visuals.
Snagit’s interface is clean and easy – one click to capture your screen or a region, and then you can toggle between image or video capture mode. For images, Snagit offers a robust editor where you can add arrows, text callouts, blur sensitive info, and even create step-by-step tutorial graphics. For video, Snagit focuses on simplicity: it’s ideal for shorter recordings (say a 2-minute walkthrough or an animated GIF).
One of Snagit’s neat tricks is that it can convert screen recordings into GIFs, which is great for embedding into slide decks or emails. Recent versions of Snagit have improved the video side, adding the ability to stitch clips together, meaning you can record several short segments and then combine them sequentially into one video. This alleviates the need to “get a perfect take” in one go. It also has options to highlight mouse clicks (with a little animation) so viewers can easily follow your cursor on screen, an excellent feature for tutorial videos.
Key Features:
Pros:
Cons:
Pricing: $63 one-time (15-day trial)
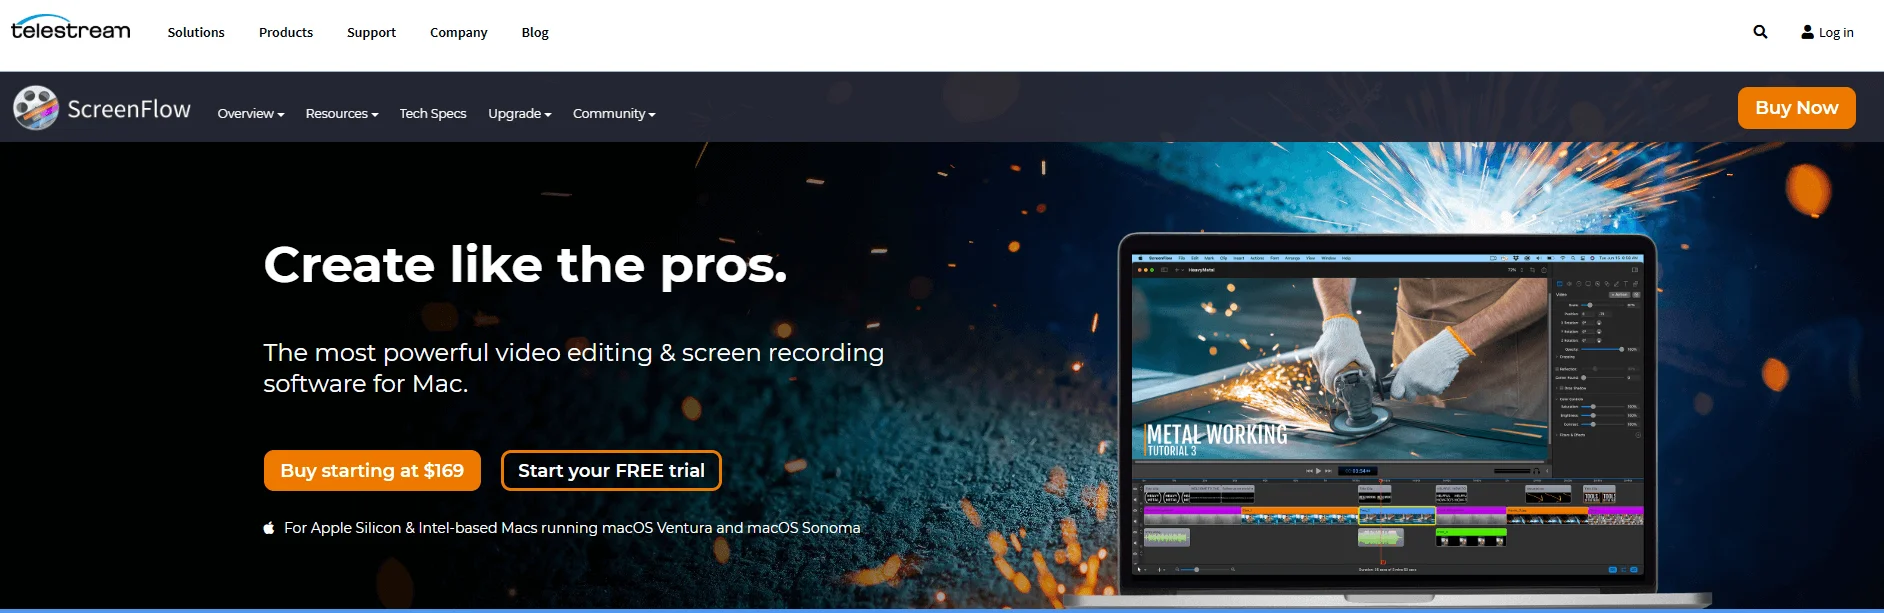
ScreenFlow is an all-in-one screen recorder and video editor made specifically for macOS, and it’s often touted as the Mac equivalent of Camtasia. If you’re an Apple user looking to produce top-notch presentation videos, software demos, or training screencasts, ScreenFlow is a strong contender.
What makes ScreenFlow shine is its combination of power and polish. The app provides a robust set of recording features, you can capture the screen (including retina displays) with exceptional quality, record system audio and microphone, and even connect an iPhone or iPad to record its screen. It also supports adding a webcam feed simultaneously, so narrating over your slideshow with a talking head inset is easy.
Once you’ve captured footage, ScreenFlow’s integrated editor opens up a world of possibilities. You can crop, pan, and zoom on your video to direct viewers’ attention, add text annotations or highlights, and utilize numerous transitions and video effects to make the final product look professional. Despite the advanced capabilities, ScreenFlow’s interface is known for being user-friendly and intuitive; the design feels Mac-native and straightforward, which lowers the barrier to using features that might seem complex in other programs.
Key Features:
Pros:
Cons:
Pricing: $169 one-time (trial available)

Movavi Screen Recorder is a user-friendly tool that strikes a nice balance between simplicity and functionality. It’s not as feature-packed as the heavyweights like Camtasia, but it offers more than the barebones free tools – making it a solid mid-range choice for everyday screen recording tasks. The interface is clean and modern, with a small control panel that lets you select the capture area (full screen or a custom region), toggle webcam and microphone on/off, and then start recording.
One standout feature Movavi brings to the table is scheduled recording. You can literally schedule the recorder to start and stop at specified times. This is incredibly useful if you want to capture a webinar, live stream, or online meeting without being at your computer – just set the start time and end time, and Movavi will do the rest (it can even be set to automatically shut down or put your computer to sleep after finishing the recording). During recording, you can also set Movavi to capture keystrokes or highlight the cursor, which is great for instructional videos.
After you finish, Movavi Screen Recorder provides a built-in basic editor for your footage. This isn’t a full editing suite, but it covers trimming unwanted sections, and you can grab snapshots from the video or convert small portions to GIF. If you need heavier editing (like adding subtitles, multiple clips, etc.), Movavi prompts you to open the footage in Movavi Video Editor, which is a separate app (and purchase).
That separation is a slight downside – “in-depth editing requires a separate Movavi app” – but for simple tasks, the Screen Recorder’s built-in trimming tool is sufficient. In terms of recording quality, Movavi lets you choose your resolution and format and can handle up to 4K screens, producing clear results. It also has options to record system audio and microphone on separate tracks, which is helpful if you want to edit volumes independently later.
Key Features:
Pros:
Cons:
Pricing: $40–$60/yr or $70 lifetime
Each of these screen recording tools has its own strengths. If you need a quick, no-fuss way to share a short demo, Loom or ScreenPal might be your go-to. For high-end, detailed video projects, Camtasia or ScreenFlow will serve you best with their editing power. OBS Studio stands out if you require a free solution with advanced capabilities (and don’t mind a bit of a learning curve). Snagit is perfect for blending screenshots with brief screencasts, and Movavi offers convenience features like scheduling for busy folks.
Consider your specific presentation needs, such as the length of recordings, editing required, budget, and platform, and you’ll be able to pick the software that fits best.
Screen recording software captures your content, but delivery is what keeps people engaged. Pairing your recorder with Teleprompter.com helps you stay on script, maintain eye contact, and deliver your message with clarity. It’s a reliable way to record presentations, tutorials, and professional videos without losing your train of thought.
Sign up for free and give your presentation videos a polished, confident edge.
Camtasia is best for polished presentation videos because it combines screen recording, webcam capture, audio recording, and editing in one tool. For free recording, OBS Studio is a strong choice, but it has a steeper learning curve.
OBS Studio is the best free screen recorder for presentations if you need advanced control, high-quality capture, and no watermark. ScreenPal is easier for beginners, but its free plan has recording limits.
ScreenFlow is one of the best screen recording tools for Mac presentations because it offers high-quality capture, webcam recording, and a built-in editor. Mac users who also read scripts while recording can compare the best teleprompter apps for Mac.
Yes, most screen recording tools let you record your screen, webcam, microphone, and system audio. Camtasia, Loom, ScreenPal, OBS Studio, and ScreenFlow all support webcam and audio recording for presentation videos.
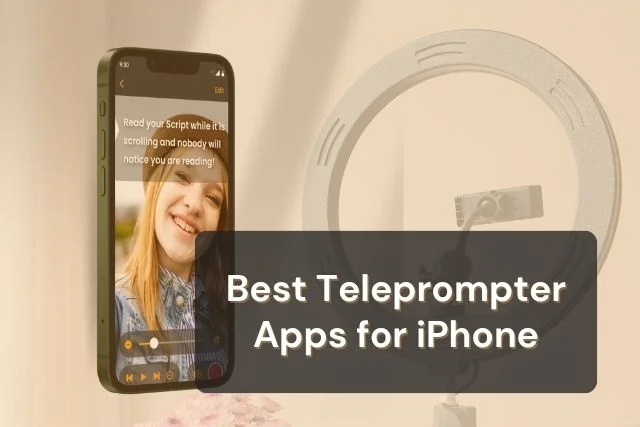
Use a clear script, record in a quiet space, frame your webcam properly, and edit out pauses or mistakes. A teleprompter app can help you stay on script while maintaining better eye contact with the camera.


.png)