


Auditions have changed. More often than not, casting decisions begin with a self-tape. You may have the talent and presence to land the role, but if your technical setup is distracting, you're already at a disadvantage. One of the simplest ways to boost your tape’s professionalism? Nail your backdrop.
A carefully chosen self-tape backdrop doesn’t just fill the space behind you, it silently supports your performance. It creates a distraction-free visual, centers attention on your delivery, and signals that you know how to present yourself as a working professional.
Here’s a guide on how to choose the right backdrop, the types available, what casting directors look for, and how to avoid the most common setup mistakes.
Casting directors evaluate more than your line delivery. In a self-tape, your environment serves as part of your presentation. A cluttered room, a patterned curtain, or a poorly lit corner can pull attention away from your performance.
A clean, neutral self-tape backdrop eliminates these visual interruptions and ensures the viewer focuses entirely on you. It signals that you respect the audition process and understand industry expectations.
A backdrop helps establish the frame around your performance. Like a stage or film set, it supports the narrative without becoming a character itself. Your background should never compete with your facial expressions or gestures.
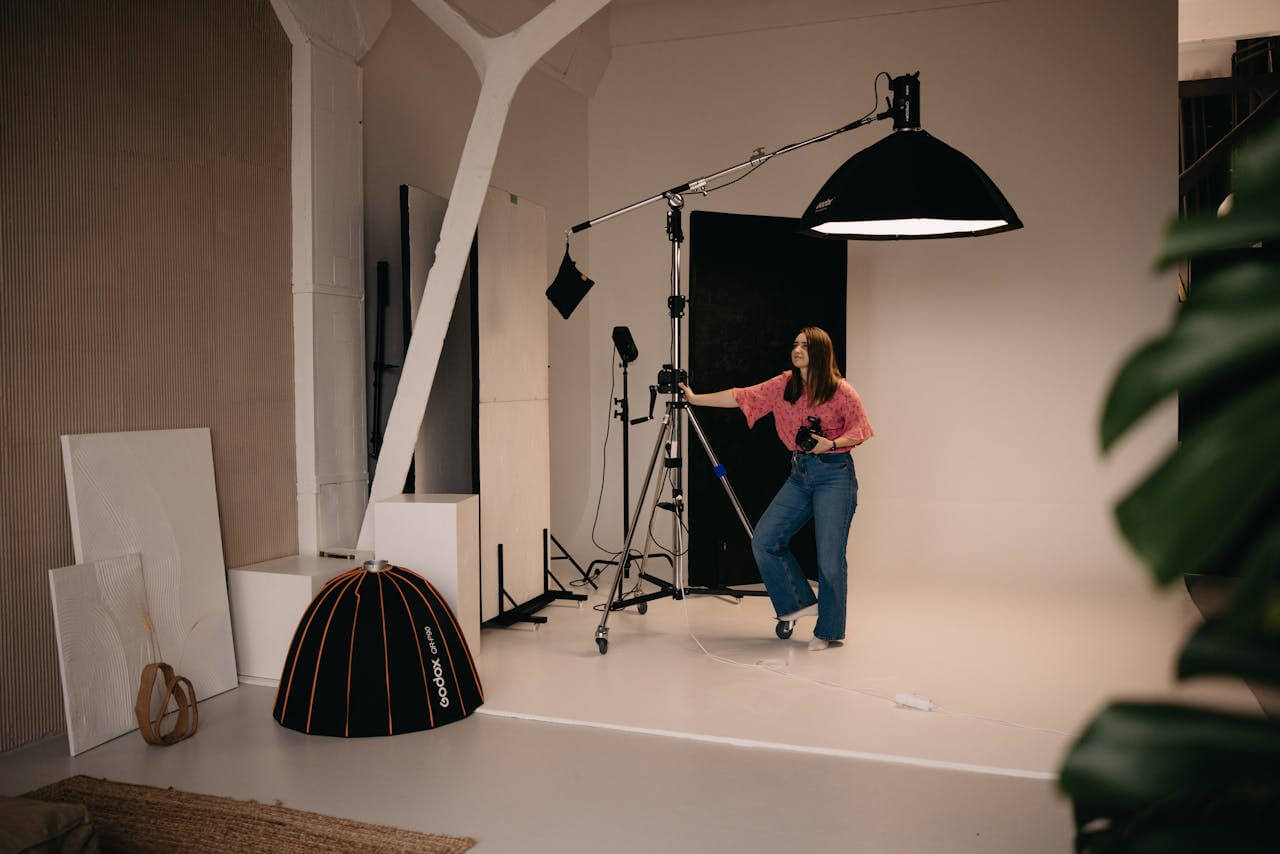
Professionally shot auditions stand out. Casting professionals have limited time, and when they see a clean frame, balanced lighting, and a centered actor, they often pay closer attention.
Not all backdrops are created equal. The best self-tape backdrop shares a few essential characteristics:
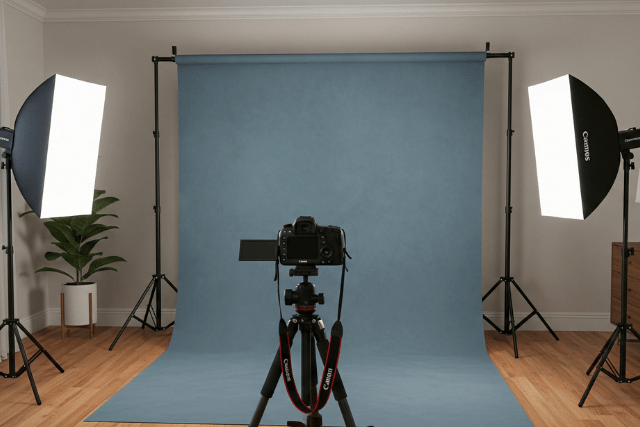
Stick to soft, non-distracting colors. Light gray, slate blue, or muted beige are often recommended. These tones complement a variety of skin tones and wardrobe choices without affecting exposure.
Avoid white walls, which can wash out facial details, or bright colors that draw unnecessary attention. Casting professionals typically expect subtlety.
Shiny materials bounce light unevenly, causing glares that may distort your appearance. Choose cotton, canvas, or muslin fabrics that absorb light and appear matte on camera.
A wrinkled backdrop, even a neutral one, looks careless. Steam or iron fabric backdrops before use, or opt for wrinkle-resistant options like collapsible screens or mounted paper rolls.
Ensure the backdrop fully covers the area visible in your shot. For medium close-ups, it should extend beyond your shoulders and head. The backdrop must cover a wider frame if you plan to include movement or standing scenes.
Even a well-colored backdrop loses value if it fails to fill the frame, revealing doorways, corners, or hanging cords.
Different setups call for various solutions. Choosing the right self-tape backdrop depends on your space, budget, and how often you film. Below are four common types actors rely on, each with its strengths and weaknesses.
These are the go-to options for many actors starting out. Fabric backdrops are relatively inexpensive, easy to transport, and come in a wide variety of shades, including casting-friendly colors like gray or light blue. They’re typically mounted using stands, clamps, or even thumbtacks for makeshift setups.
Why actors like them:
Challenges:
Fabric works well if you have a designated filming space and a little time to prep before each shoot. They strike a balance between cost and customizability.
Think of these as the actor’s version of a photographer’s travel kit. Collapsible backdrops fold down into small circular carriers and pop open into full-size panels. They often feature two neutral sides (like gray and blue) and have built-in tension to stay taut.
Advantages:
Trade-offs:
Pop-up backdrops are ideal for actors with tight living spaces or who travel often. They're a strong option if you need consistency and speed without dedicating permanent wall space.
Seamless paper backdrops are often used in professional studios. These provide an incredibly smooth and uniform look on camera, which makes them ideal for auditions requiring high production value.
Benefits:
Drawbacks:
This is a great solution if you have a permanent filming space and want a polished look. It’s a bit more of an investment and setup effort, but the results are top-tier.
Sometimes, the best backdrop is already part of your home. A freshly painted neutral wall can be just as effective as any professional setup—as long as it meets a few visual standards.
Strengths:
Limitations:
This option works well for actors who frequently submit tapes and have a dedicated home studio space. It’s affordable and always ready to go.
Choosing the wrong self-tape backdrop can sabotage your audition, even if your performance is strong.
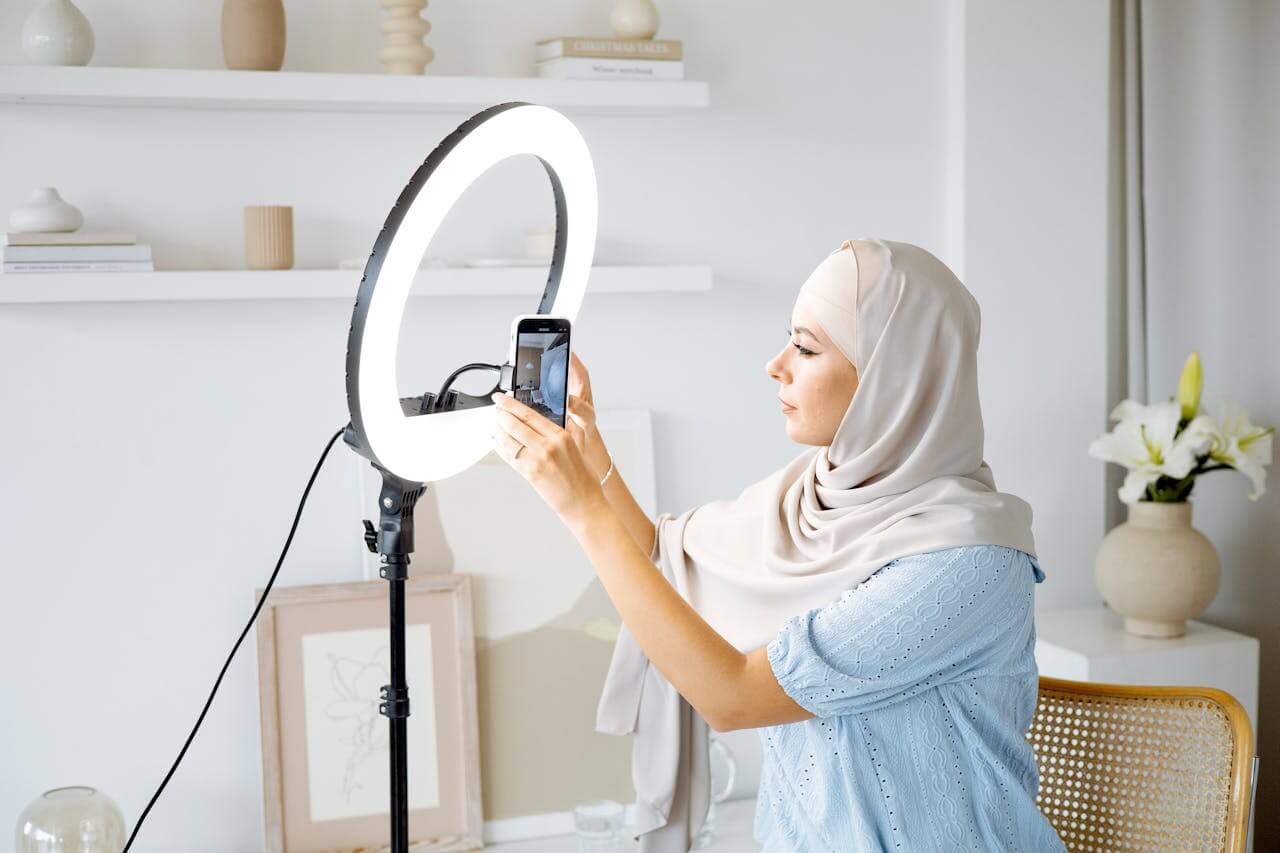
Upgrading your backdrop setup doesn’t require a full studio build. Just a few reliable tools can dramatically enhance your visual quality:
Bonus tip: If you use a teleprompter app for scripted scenes, try pairing it with a tablet mount that positions the screen just above or behind your camera lens. That way, your eyeline remains natural while your performance stays sharp. Take control of your performance setup and stay on script without breaking eye contact with the camera. Try the Teleprompter.com app for a smooth and intuitive experience. Start your 7-day free trial at Teleprompter.com.
A well-prepared self-tape setup does more than create a polished look, it reflects how seriously you take your craft. Your backdrop is a key part of that impression. When it’s clean, neutral, and well-lit, it removes distractions and puts your performance at the center.
Whether you're using a collapsible screen, painted wall, or fabric drape, what matters most is that it works seamlessly with your camera, lighting, and overall setup. It's not about having the most expensive gear; it's about creating a space that shows you're ready to work.
So if you're updating your setup, start with your backdrop. It’s one of the simplest ways to elevate the quality of your self-tapes and help your talent come through clearly on screen.
Neutral shades like gray, beige, or slate blue are best. They minimize distractions and flatter skin tones.
Only use a green screen if specifically requested. Otherwise, it may make your tape look less authentic.
Ideally, at least 5 feet between you and the backdrop to avoid shadows and allow for proper camera framing.


.png)


