Top Tools

How to Use a Ring Light: Best Placement and Settings

By
Teleprompter.com team
Published on:
September 29, 2024
6
minutes
How to Use a Ring Light: Best Placement and Settings
TL;DR:
Place your ring light slightly above eye level and keep your camera near the center of the ring. Start on low brightness, increase slowly, then match the color temperature to your room lighting. Adjust the angle to prevent glare on glasses or reflective surfaces.

Good lighting changes everything. It smooths harsh shadows, makes your subject stand out, and helps your photos and videos look clean and professional—without complicated gear. That’s why ring lights have become a go-to tool for creators, coaches, educators, and anyone filming content for YouTube, TikTok, webinars, and live streams.

If you’ve ever looked washed out, too shiny, or oddly orange on camera, the fix usually isn’t a new camera. It’s your lighting. This guide breaks down exactly how to use a ring light so you can get soft, balanced lighting in almost any setup.

What is a Ring Light?

ring light for better lighting

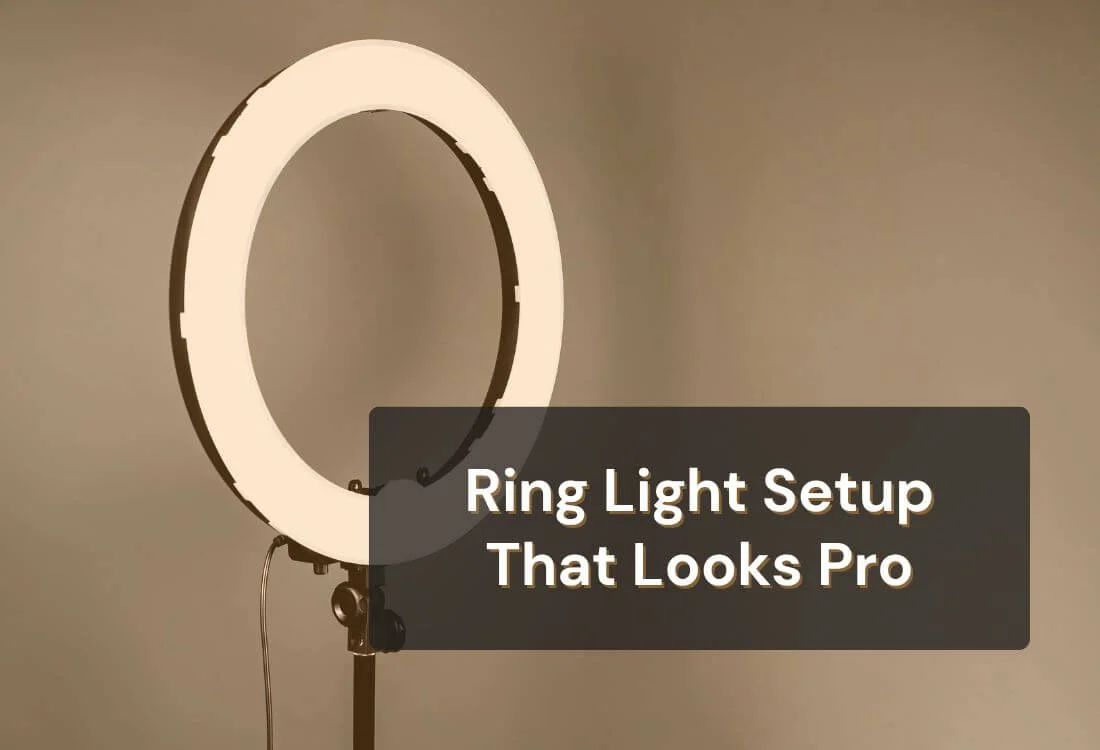
A ring light is a circular lighting device designed to shine light evenly on a subject. It can sit in front of you on a stand, or in some setups, surround the camera lens. Because the light comes from a more centered direction, it helps reduce harsh shadows and creates a soft, flattering look, especially on faces.

Ring lights were originally used in medical and dental photography to reduce shadows in close-up images. Today, they’re everywhere because they’re simple, consistent, and easy to adjust. 

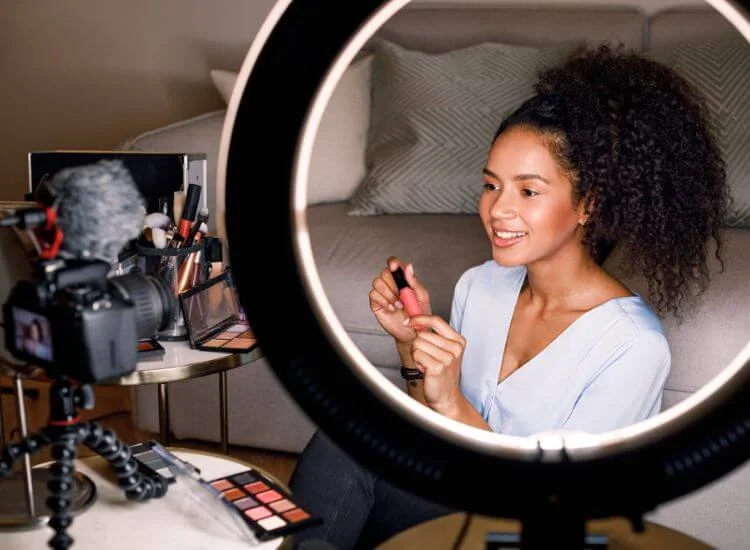
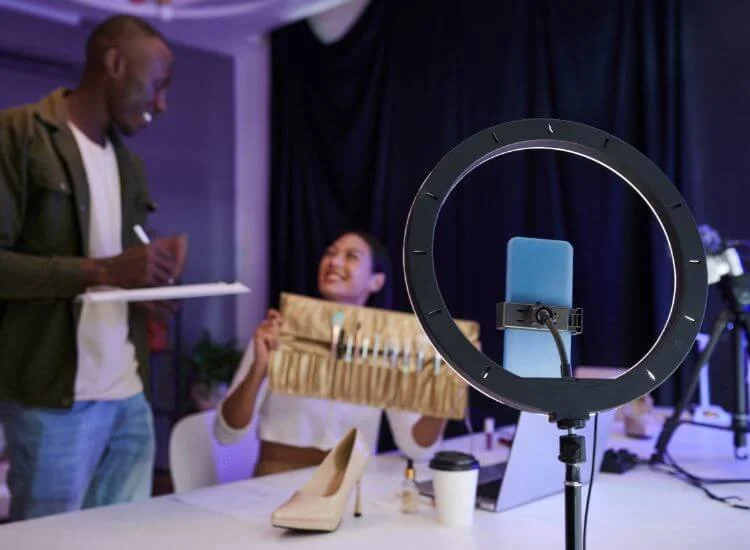
For creators filming themselves speaking—tutorials, UGC, product demos, online courses, live streams: a ring light is often the fastest way to get clear, even face lighting.

Why Ring Lights Offer Superior Lighting

Ring lights are popular for one main reason: they make lighting easier to control. Instead of dealing with uneven lamps or harsh overhead lights, a ring light can give you a balanced glow that looks good on camera in minutes.

Here’s what makes them so effective:

  • Even illumination: The circular design spreads light across the face, reducing harsh shadows.
  • Consistent results: You can repeat the same setup across shoots, which helps your videos look cohesive.
  • Adjustable brightness: Most LED ring lights let you fine-tune intensity so you don’t look washed out.
  • Adjustable color temperature: Many ring lights switch between warm and cool tones, helping your skin look natural under different room lighting.

Why ring lights look good on camera

  • The light stays close to the camera line, so your face looks evenly lit in video.
  • The circular shape creates catchlights in the eyes, which makes people look more alert and “present” on camera.

Types of Ring Lights

on-camera ring light

Not all ring lights are the same. Choosing the right type depends on what you film and how much space you have.

On-camera ring lights

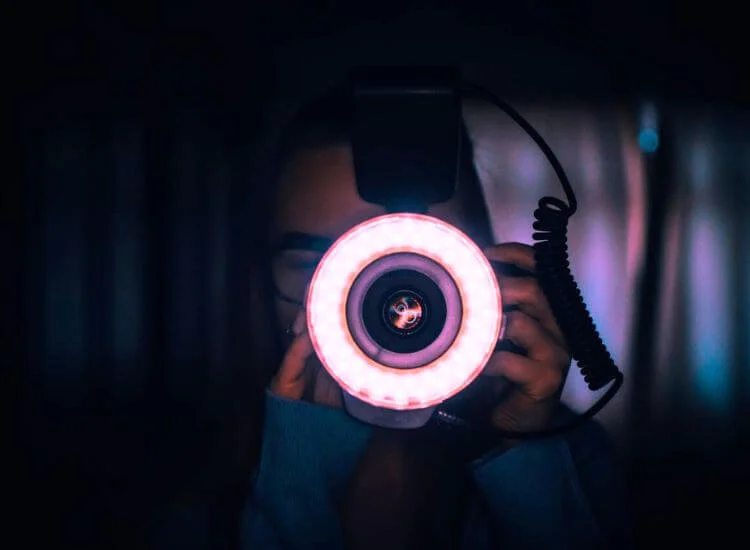
These mount near the lens and are commonly used for macro photography or close-up detail shots. They’re great for jewelry, small products, and tight framing because they reduce shadows when you’re working very close to the subject.

Off-camera ring lights

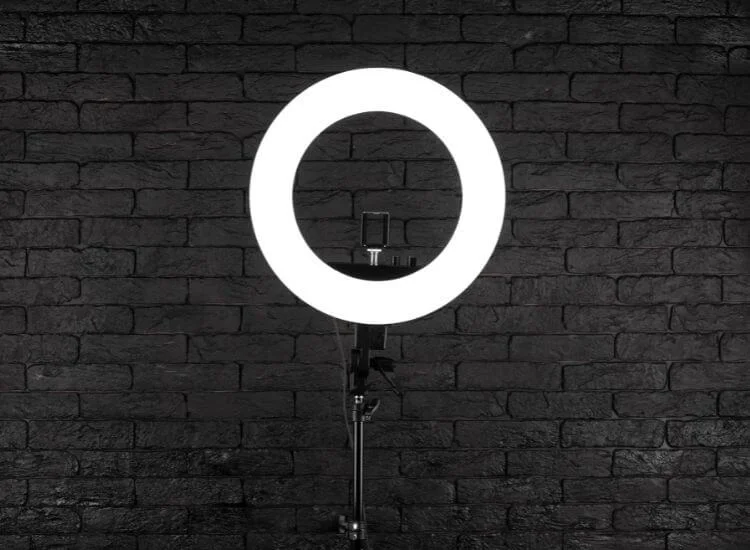
These are placed on a stand and positioned in front of the subject. They’re the most popular option for creators because you can adjust height, angle, and distance quickly.

LED ring lights vs. ring flashes

  • LED ring lights stay on continuously, which makes them ideal for video and easy to adjust while filming.
  • Ring flashes fire only when you take a photo and are more common in studio photography.

Larger ring lights

Larger ring lights typically provide softer, more forgiving light and cover more area—helpful for wider framing, full-body shots, or filming in darker rooms.

Ring light size guide

Bigger ring lights usually look softer because they behave like a larger light source.

Ring light size guide

Bigger ring lights usually look softer because they behave like a larger light source.

Ring light size Best for Notes
10–12 inch desk setups, calls, tight spaces portable, less soft at distance
14–16 inch creators, small home studios good balance of size and output
18 inch video, portraits, larger framing softer look, better coverage

Maximizing Light Output with Ring Lights

content creator using a ring light for video creation

A ring light can be bright, but “brighter” isn’t always better. The goal is soft, clean lighting—not a spotlight.

Here are the easiest ways to get the most out of your ring light without making your face look shiny or washed out:

How to get softer light without blasting brightness:

  • Move the light closer instead of turning it to max. A closer light can look softer and more flattering than an overly bright light from far away.
  • Increase distance if your skin looks shiny or if highlights on your forehead/cheeks blow out.
  • If your ring light includes a diffuser, use it for talking-head content, coaching videos, and interviews.
  • Balance your ring light with the room. If your environment is already bright, you may only need a low setting.

How to Use a Ring Light for Different Scenarios

ring light as part of content creation kit

Once you know the basics, ring lights become very flexible. The best setup depends on what you’re filming and how reflective your subject is.

Best starting setup for most people

Use this as your default, then adjust:

  • Height: slightly above eye level, angled down
  • Distance: start around 2–4 feet for talking-head video
  • Brightness: start low, increase until skin looks even (not shiny)
  • Color temperature: match the room (warm room = warmer light, daylight = cooler light)

Portrait photography

For portraits, place the ring light in front of your subject and keep the camera near the center. Set the light slightly above eye level to get flattering facial definition while keeping shadows soft. If the face looks flat, shift the ring light slightly off-center.

Product photography

Ring lights can make products look crisp, but reflections are the main challenge.

  • Place the light slightly above the product rather than directly head-on.
  • Adjust the angle until the highlight looks intentional, not distracting.
  • If reflections are harsh, increase distance or use diffusion.

Video content creation

For vlogs, tutorials, interviews, and live streams, ring light setup for video:

  • Place the ring light centered in front of you at eye level or slightly above.
  • Match the color temperature to your room lighting so your skin looks natural.
  • Avoid max brightness. It can make you squint and flatten your face on camera.

Macro photography

For tiny subjects like insects or jewelry, on-camera ring lights can be especially useful. They provide even illumination at very close distances so you can capture detail without harsh shadows.

Ring light setup when you’re reading a script

If you’re filming while reading a script, lighting affects more than quality—it affects how confident you look.

Use this setup:

  • Keep the camera lens near the center of the ring light so your eye line stays natural.
  • Place your script close to the lens line to reduce darting eyes.
  • Avoid brightness that makes you squint (it looks like you’re struggling to read).
  • If you wear glasses, raise the ring light slightly and tilt it down to reduce glare.

This simple setup makes scripted delivery look calmer and more polished.

Positioning Your Ring Light for Best Results

Positioning is the difference between “nice lighting” and “why do I look weird on camera?”

Subject’s face and camera placement

For portraits and video, place the ring light in front of the subject and position the camera as close to the center of the ring as possible. This helps keep light even and flattering.

Finding the right angle

Small adjustments matter. Tilt the light slightly downward from above eye level. If your face looks flat, shift the ring light slightly left or right to introduce gentle shadow and depth.

Adjust brightness and color temperature

  • Lower brightness if highlights look shiny or blown out.
  • Match color temperature to the room so skin tones don’t look orange or blue.
  • If your camera keeps changing color or brightness, lock settings if your app allows it.

Quick fixes for common ring light problems

Problem What you see Quick fix
Glare on glasses bright white reflections raise the light, tilt down, shift slightly left/right
Face looks flat no depth shift light slightly off-center or add a dim side lamp
Skin looks shiny hotspots lower brightness, increase distance, use diffusion
Color looks off orange/blue cast match color temp, reduce mixed lighting
Background too bright your face looks darker dim background or add a small background light

Tips for Using a Ring Light

Tips for Using a Ring Light

Here are some additional tips to help you make the most of your ring light:

  • Avoid glare: Position the ring light slightly above eye level and angle it down. If you wear glasses, raise and shift the light slightly off-center.
  • Use ambient light wisely: If the room is already bright, you may only need low ring light brightness to avoid overexposure.
  • Do a 10-second test clip: Watch it back before recording the full take. This catches glare, shininess, and color issues fast.
  • Lock exposure/white balance when possible: It keeps your lighting consistent from start to finish.
  • Create a repeatable setup: Mark your ring light distance and height so your videos look consistent across days.
  • Want a more natural look? Shift the ring light slightly off-center and lower brightness. Centered ring lighting can look a bit “flat” for some faces.

Bringing It All Together

Once your ring light sits slightly above eye level and matches your room lighting, your videos will look cleaner with fewer retakes. Save your best setup—height, distance, brightness, and color temperature—so you can recreate the same look every time. 

If you’re filming scripted content, pair this setup with a teleprompter workflow to keep your eye contact steady while you focus on delivery.

FAQ

How to set up a ring light?

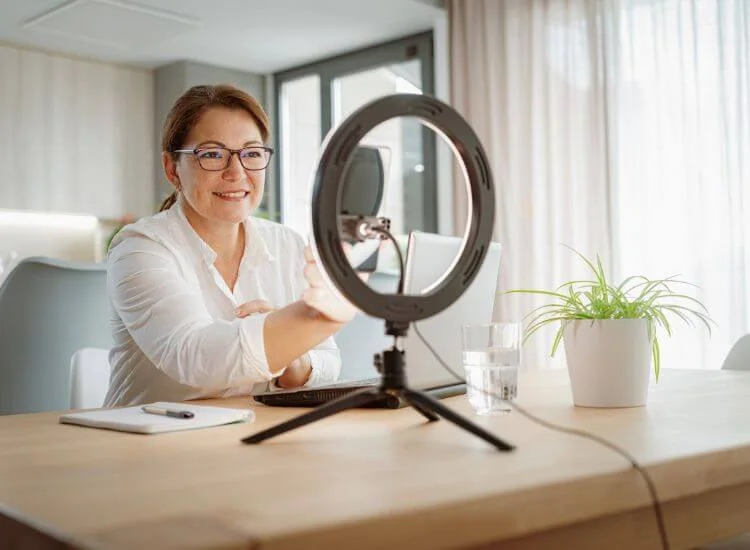
Set the ring light on a stable stand and place it slightly above eye level, angled down. Mount your phone/camera close to the center opening. Start with low brightness, then raise it slowly. Match the color temperature to your room lighting before you record a quick test clip.

How to use a ring light for video?

For video, keep the ring light near the camera line so your face stays evenly lit. Position it slightly above eye level, start dim, and increase brightness until skin looks natural (not shiny). Match color temperature to the room, then tweak the angle to avoid glasses glare.

Where is the best place to put a ring light?

The best placement is directly in front of you with the camera near the ring’s center, slightly above eye level, and angled down. This reduces shadows and keeps eye contact looking natural. If your face looks flat, shift the light a few inches off-center for depth. 

What is the best setting for a ring light?

Start with low brightness and increase gradually until your face looks evenly lit without blown-out highlights on your forehead or cheeks. Set the color temperature to match your room (warm indoor lights → warmer setting, daylight → cooler setting). If your camera keeps shifting color, reduce mixed lighting sources.

Ring light vs softbox: which is better for video?

If you film talking-head videos, a ring light is fast and keeps your face evenly lit. A softbox often looks more natural for wider shots and adds more depth. Choose ring lights for simple solo setups; choose softboxes when you want softer shadows and a more cinematic look. 

Recording videos is hard. Try Teleprompter.com
Recording a video without a teleprompter is like sailing without a compass.

Since 2018 we’ve helped 1M+ creators smoothly record 17,000,000+ videos