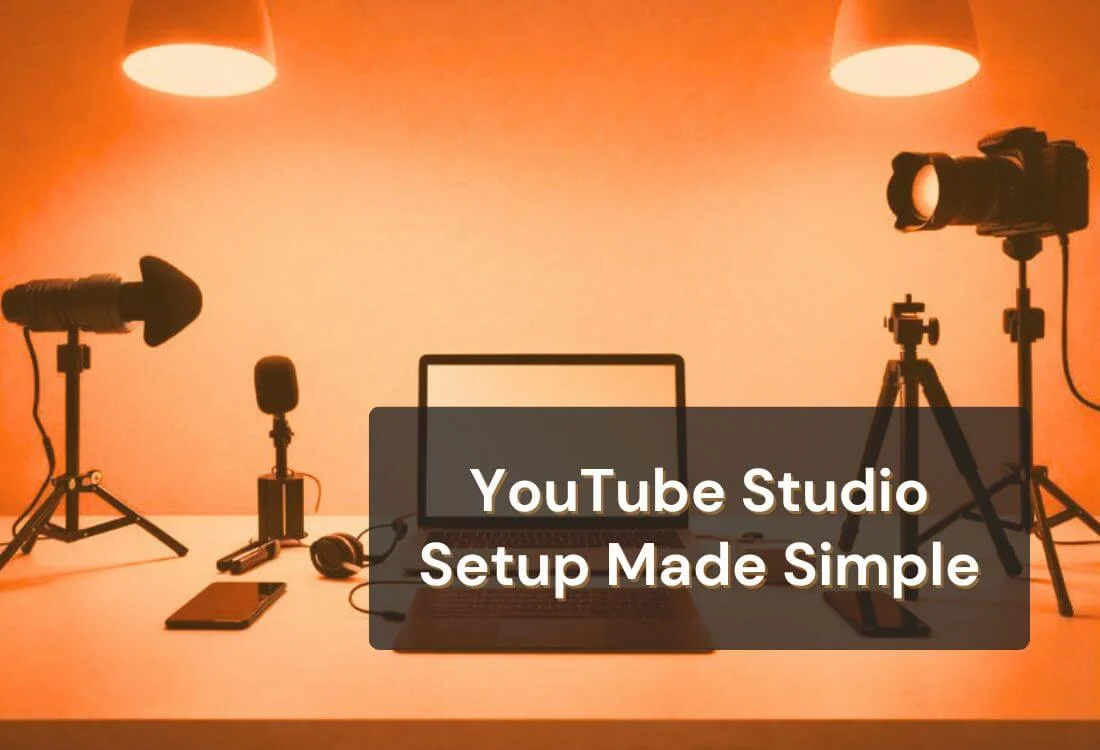


This guide shows how to build a practical setup, choose the right gear for your space, and use a simple script workflow that keeps your delivery smooth on camera.
Use this order for the fastest upgrade:
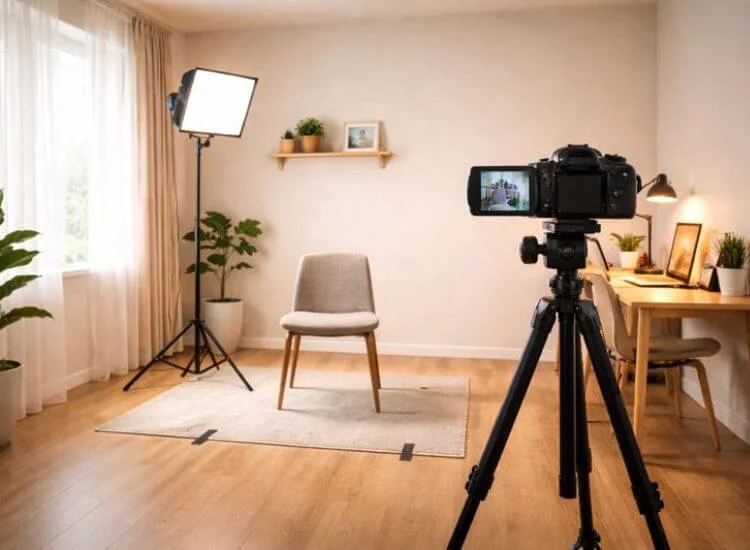
A successful YouTube studio starts with a quiet space. You do not need a big room. You need control.
Choose a spot with:
If you film in a shared space, set a reset routine. Store your gear in one bin and take a photo of your final setup. That lets you rebuild the same shot in minutes.
Before you spend money, record a quick test clip. Use your phone and film a 10-second sample.
Decide your main format:
Then plan three zones:
This makes your creator workspace easier to manage.
Many creators build a high-quality YouTube studio with a smartphone. Great lighting and stable framing often beat a pricey camera in a dark room.
Focus on:
A webcam works for desk videos and live streaming. A mirrorless camera can add depth and a sharper look. Choose based on your filming style and how often you post.
Good framing helps viewers trust your video.
Do this:
Mark tripod legs with tape so you can set the same frame each session.
Dial in focus, exposure, and white balance with this guide to camera settings for YouTube videos.
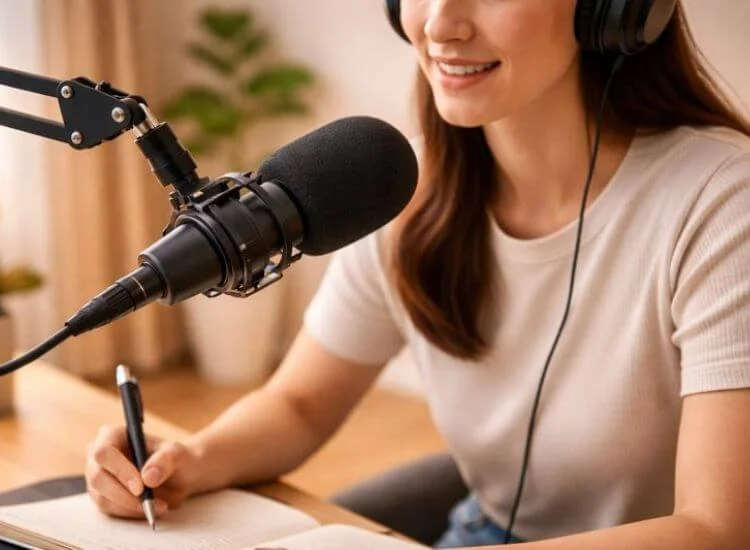
Audio is often the biggest factor in watch time. If viewers struggle to hear you, they leave.
A USC and Australian National University study found that poor audio quality makes information feel less credible, even when the message stays the same.
A good YouTube studio setup needs clear voice audio. Pick a mic that matches how you film.
Lavalier mic
Dynamic mic (USB or XLR)
Shotgun mic
Mic placement matters more than price. Keep the mic close to your mouth and record a short test clip before you film a full video.
You can improve room sound with small changes:
Record the same sentence each time you test. Compare clips and keep the setup that sounds best.
Lighting often creates the biggest visual improvement.
Place your key light:
If the light looks harsh, soften it with diffusion or bounce it off a white wall.
If shadows look too strong, add a second light or a reflector:
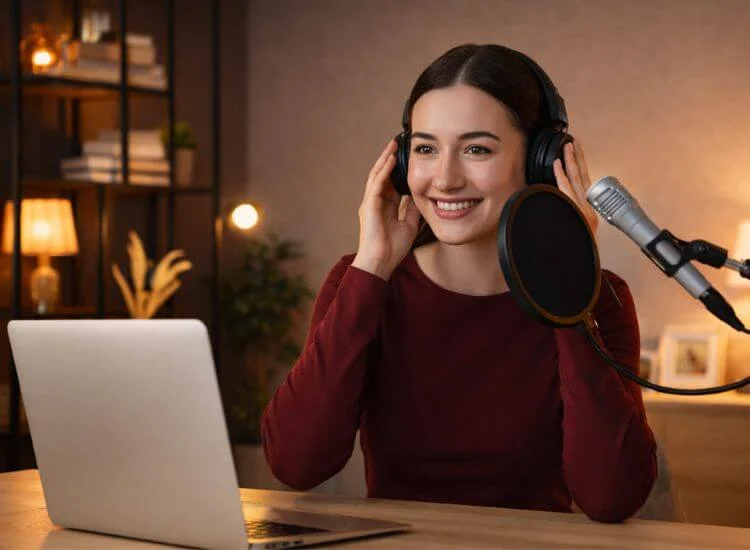
A clean background helps viewers focus. It also makes your videos easier to clip into shorts or promos.
Use:
Maintain a clean, uncluttered frame that can be easily recreated for every video.
Consistency saves time.
Create a reset routine:
This is how a YouTube studio setup stays ready all week.
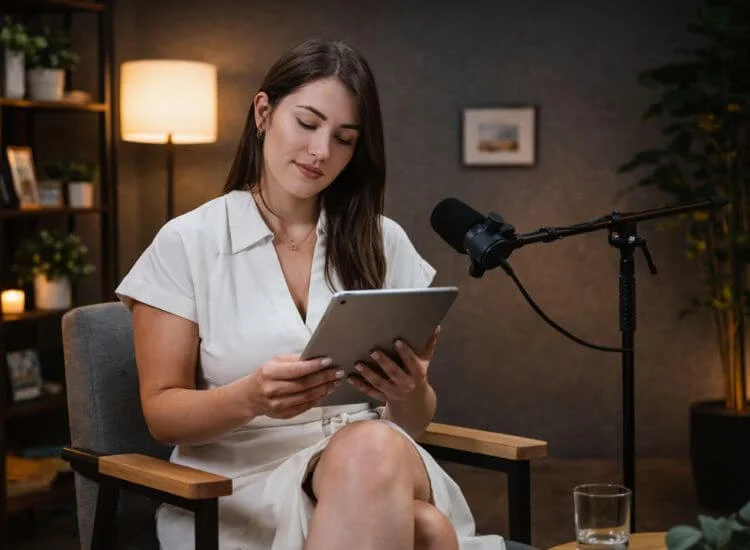
Creators often lose time on retakes. The cause is simple. Missed lines, rushed pacing, and eyes dropping to notes.
When your script sits at eye level near the camera, you keep better eye contact. Your delivery also sounds more confident because you do not hunt for the next point.
A clean approach:
Teleprompter.com supports creators who want a smoother read without losing that on-camera connection. Use it when you film:
Keep it simple. Use it for structure, not for a robotic read. Set the text size so you can relax your eyes. Set the speed so you can speak naturally. That helps your videos feel calm and clear.
For more practical ways to sound confident and look polished, see this guide on filming professional YouTube videos.
YouTube compresses video. Clean exports help your footage hold up after processing. YouTube provides upload encoding recommendations you can use as a reference.
Practical rules:
Save an export preset in your editor so you do not rebuild settings each time.
Match your export resolution and aspect ratio to your content format using these recommended YouTube video sizes.
A stable stream protects your viewer experience. YouTube also shares live encoder guidance and recommends running a speed test to confirm upload bitrate.
Quick tips:
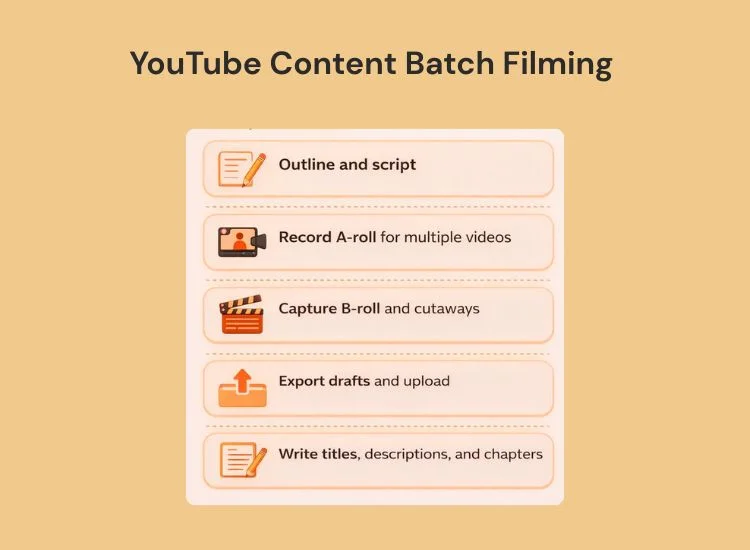
Consistent video creation hinges on a repeatable process, which a well-equipped YouTube studio facilitates through reliable gear and organizational systems.
The importance of such systems is supported by data from Wistia's 2025 [State of Video] report, which analyzed over 100 million videos and surveyed more than 1,300 professionals.
Pick one day per week for filming and batch tasks.
A simple routine:
A prompting app helps here. You can move through scripts faster and keep your pacing consistent.
Use a folder system:
Use clear file names with date and topic. Example: 2026-02-02_studio-setup_take1. This helps you find clips fast and track revisions.
Good for creators who want results fast:
Good for weekly uploads:
Good for high output:
A reliable YouTube studio setup helps you film faster and keep quality consistent. Start with a quiet spot, improve audio, then add one key light. After that, lock in framing and build a workflow you can repeat each week.
If scripted videos are part of your channel, keep your words close to the lens. That is where Teleprompter.com can help. It supports cleaner delivery and fewer retakes without changing your natural style.
Try one batch filming session this week. Set up your space once, record two to three videos, then reuse the same setup for your next upload.
Pick a quiet spot, place your mic close, set one key light to the side of your face, and put the camera at eye level on a tripod. Tidy the background and add depth by standing a few feet from the wall. Save a reset photo so you can rebuild the same shot quickly.
Start with audio and lighting. Use your phone camera, then get a simple mic you can keep close to your mouth and one key light you can place consistently. Add a tripod next to lock framing. These upgrades improve results faster than buying a new camera.
Clean 1080p looks great with solid lighting and stable exports. Use YouTube’s upload encoding guidance to help your video hold up after compression.
Place your key light at about a 45-degree angle from your face and slightly above eye level for natural shadows. If one side looks too dark, use a reflector or a weaker fill light. Keep your light position marked so your look stays consistent across every recording.
A prompting app keeps your script at eye level near the camera, so your delivery stays steady. It also reduces missed lines and helps you move through batch filming faster. Teleprompter.com supports this workflow so you keep eye contact, reduce retakes, and batch film faster.


.png)


.png)