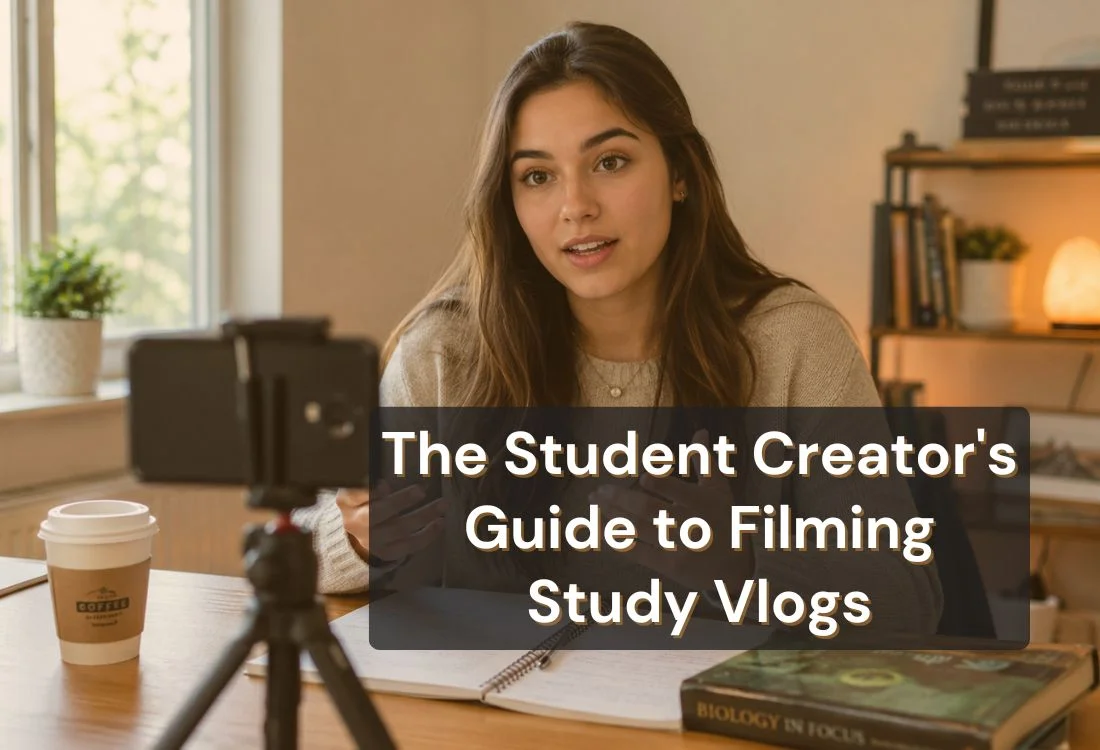


To film a study vlog people actually watch, you need two scripted anchor segments (a tight opening hook and a closing reflection) with clean ambient footage filling the space between them. The study vlog format is growing fast across YouTube and TikTok, but most study vlogs lose viewers in the first 30 seconds because the creator opens unscripted, ramps up slowly, and says nothing specific before the study footage begins.
Study vlogs lose viewers at the start for one specific reason: the creator has nothing prepared to say. The camera rolls, the creator looks at the lens, and then comes the slow warm-up. A pause. A filler phrase. A vague description of what they are studying today that tells the viewer nothing about why they should keep watching.
That opening minute is the only moment in a study vlog where you have full control over what appears on screen. Everything after it (the ambient footage, the study session, the background music) is largely passive. The opening is not.
According to Dropbox video content producer Henry Ceiro, "if you don't hook viewers in five seconds, they're gone." Wistia's 2025 State of Video Report found that short-form videos between three and five minutes saw engagement drop by 10 percent year over year, the steepest decline of any video length. Short, casual formats like study vlogs sit squarely in that range, and the opening seconds are where that drop happens first. A tight, scripted opening that gives viewers a specific reason to stay is one of the simplest structural fixes available.
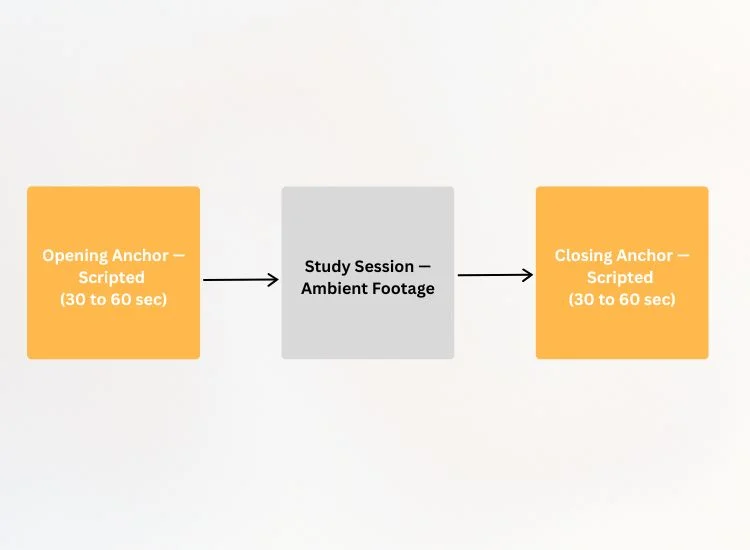
The Anchor-and-Roam Method is a simple production framework for study vloggers: script two short anchor segments (your opening hook and your closing reflection) and let the unscripted study footage roam freely in between.
Most study vlogs are identical in format: same desk, same notebook, same ambient music. The only thing that separates a channel with 200 subscribers from one with 200,000 is the quality of what the creator says when they face the camera. The anchor segments are where your personality, your voice, and your reason for making the video actually land.
The roaming section (the actual study footage, the time-lapse, the ambient clips) does not need a script. It carries mood, not message. Your anchors carry the message. Script those two minutes. Let the rest breathe.
Follow these six steps in order. The first three take about fifteen minutes before you start filming. Steps four through six happen once your study session begins.
Your opening anchor is two to three sentences, spoken directly to camera, that tell the viewer exactly what they will get from watching this video. It is the only part of your vlog that needs a script.
A strong anchor answers three things in under 45 words: what you are studying today, why it matters right now, and what the viewer will take away. Keep it specific. 'I have a biochemistry final in four days and I am spending today on enzyme kinetics' is a better opening than 'Hey, welcome back, today I am just going to be studying for exams.'
You do not need a camera. Your phone works, and it works well. The three things that matter for a clean study vlog shot are framing, light, and background.
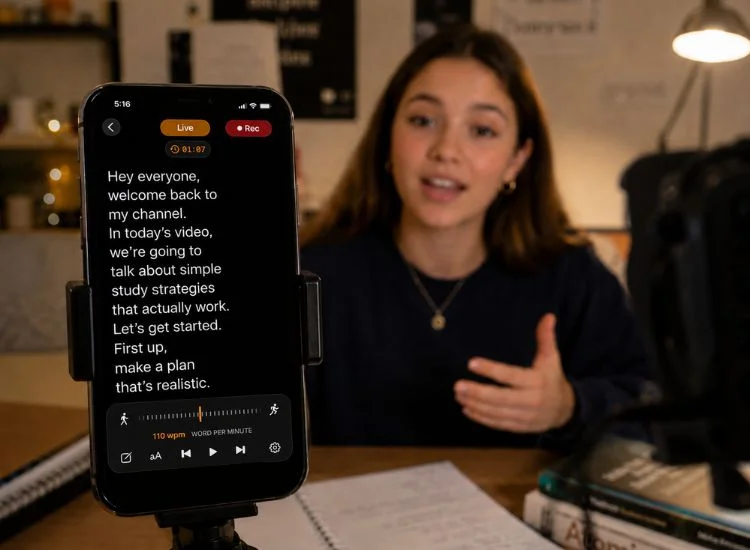
This is the step that removes most of the friction from filming. Instead of trying to remember your opening line or deliver it perfectly off the top of your head, open Teleprompter.com, paste your anchor script, set a comfortable scroll speed, and read it directly from the screen while looking into the lens.
The result is a clean, confident opening take that sounds like you, not like someone reciting a rehearsed line. The script is there, but the viewer does not see it. They see eye contact and a creator who knows what they want to say.
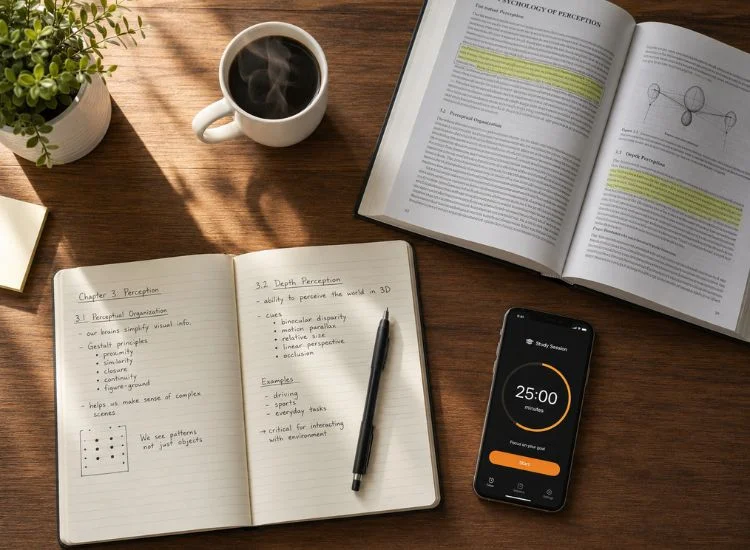
The middle section of your vlog is the ambient footage: the actual study session, captured as b-roll. This is the roaming part of the method. You are not scripting this. You are capturing it.
Aim for five types of b-roll clips for every study session you film. These give you editing options and prevent the final video from feeling like a static wide shot for twenty minutes.
Capture 30 to 60 seconds of each clip type. You will not use all of it, but having it means you can cut away from the wide shot whenever the pacing needs variety.
Your closing anchor follows the same format as the opening: scripted, short, specific. Return to camera and reflect on what you covered, how the session went, and one thing you would do differently next time.
This is the moment that builds viewer loyalty. The opening tells viewers why to watch. The closing gives them a reason to come back. A study vlogger who consistently delivers on the promise of their opening and closes with something honest: a study win, a challenge, a lesson learned. That is the kind of creator viewers subscribe to.
Use Teleprompter.com for your closing anchor too. Two to three sentences, read cleanly, is all it takes.
Cut the dead air at the start of every clip. Cut the warm-up fumbles before your first real sentence. Cut anything where you are not saying or showing something that earns its place in the video.
Study vlogs do not need to be short. Long-form study content performs well on YouTube, where videos between eight and twenty minutes tend to generate stronger watch time than short clips.
But every minute should have a reason to exist. A three-minute study session with good b-roll pacing beats a twenty-minute session with ten minutes of unbroken desk footage.
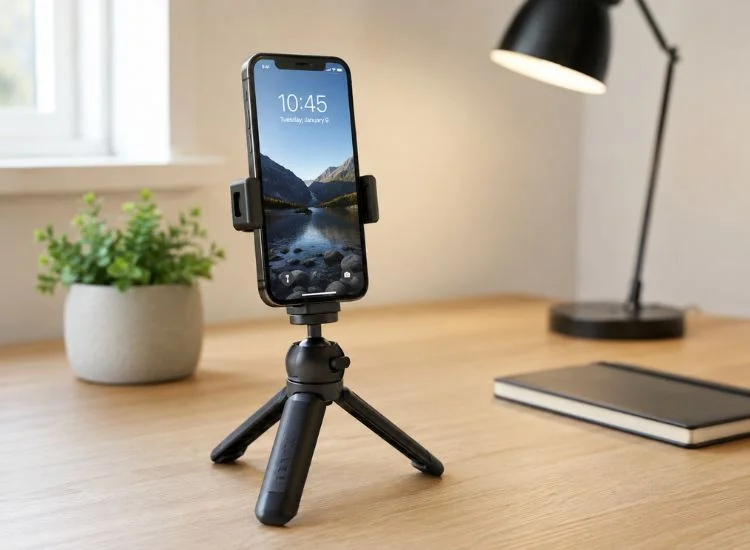
Less than you think. The three non-negotiable starting points are a phone (which you already have), something to prop it at eye level, and decent natural light. Everything else is optional until you have an audience that makes the upgrade worth it.
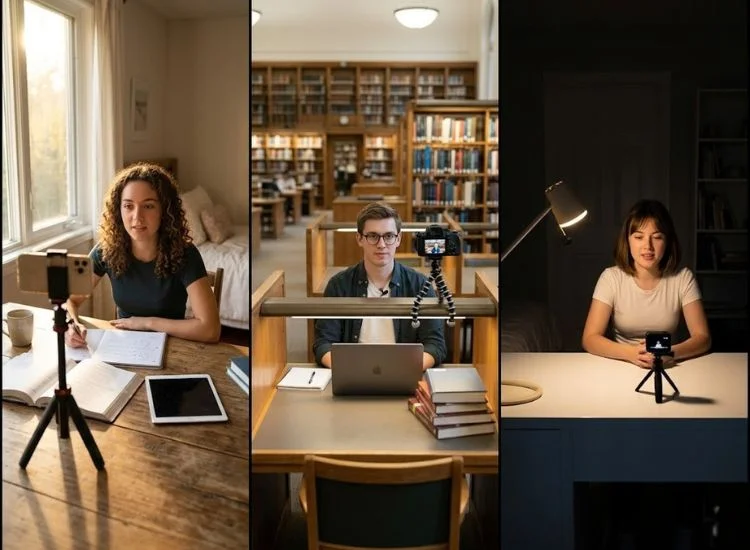
Your setup shapes the visual identity of your channel. These three configurations cover most filming situations, and each one produces natural b-roll without any additional staging.
The most common and most forgiving configuration. Sit with a window to your left or right so natural light falls across your face. Frame the shot so the window is out of frame but the light source is clearly working. Background: a plain wall, a shelf, or a pinboard behind you. B-roll this setup produces naturally: hands on keyboard, notebook open, light shifting across the desk as the session progresses.
Higher ambient energy and more visual depth than the home desk. Frame the shot so bookshelves or study carrels create a layered background. The ambient audio (quiet chatter, page turns, subtle atmosphere) is the main asset of this setup, so let it carry the middle section of your vlog. B-roll: other students in soft focus behind you, library signage, books being pulled off shelves.
Works when you have a lamp positioned to the side of your face and a tidy background. The risk here is flat, low-contrast footage if your only light source is overhead. Add a desk lamp pointing at your face from one side and you have a workable setup. B-roll: close-up of a whiteboard or sticky notes, coffee cup, textbook pages.
The gap between a study vlog that gets five views and one that builds a real audience is rarely production value. It is almost always whether the creator shows up with something specific to say.
Script your opening anchor. Script your closing reflection. Let the study footage carry the rest. Those two minutes, delivered clearly, on camera, with eye contact, and that is what give viewers a reason to subscribe and come back for the next one.
Ready to film your opening anchor? Open Teleprompter.com in your browser, paste your anchor script, and record your first take in under a minute. Works instantly in any browser, on any device. Start 7-day free trial for the Pro Plan.
For more on building a channel presence through scripted delivery, see content creator tips and vlog scripting techniques.
Open with a scripted anchor of two to three sentences: what you are studying, why it matters right now, and what the viewer will get from watching. Keep it under 45 words and make it specific. Vague openers lose viewers before the study footage begins. A scripted opening delivered through a teleprompter app removes the hesitation that makes most study vlog intros feel slow.
It depends on the platform. For YouTube, eight to twenty minutes is a solid target: long enough to build watch time, short enough to stay engaging. For TikTok and Instagram Reels, two to five minutes works well as a condensed highlight version of the same session. Film your full session for YouTube and repurpose the best clips for short-form.
You do not need to script the whole vlog, but you should script the parts where you speak directly to camera. The Anchor-and-Roam Method keeps scripting minimal: write two short anchor segments (opening and closing), then let the study footage carry the rest. Full scripting makes study vlogs feel stiff. No scripting at all makes them feel aimless. Two scripted minutes is the right balance.
Start with your phone. A recent iPhone or Android flagship shoots at a quality level that is more than adequate for YouTube and TikTok. The camera is rarely the weak point in a beginner study vlog. Poor framing, flat light, and bad audio are almost always the real issues. Fix those first before spending money on a dedicated camera.
Script the anchor segments and use a teleprompter app to deliver them. Rambling happens when you are deciding what to say while the camera is already rolling. A two-sentence script removes that problem entirely. For the moments between scripted sections, give yourself a single point to make before you start talking. One idea per take. See also: overcoming stage fright with a teleprompter app.
One video per week is the sustainable floor for channel growth. Consistency matters more than frequency at the start. Two videos a week posted for a year will build a stronger channel than five videos a week posted for two months before burnout. Pick a schedule you can hold alongside your actual study commitments, then hold it.


.png)


.png)