

Learning how to make tutorial videos is no longer optional for creators, educators, and teams that teach online. Tutorial content helps people solve problems fast, and demand is huge. Official YouTube sources have said that more than 500 hours of video content on average are uploaded every minute, which means clear structure and confident delivery matter more than ever if you want your video to stand out.
Knowing how to make tutorial videos, though, is a skill in itself. It's not just about knowing your subject. It's about structuring your explanation clearly, delivering it confidently on camera, and producing something your viewers can actually follow. This guide walks you through each step from planning your first video to hitting publish.
A tutorial video is an instructional video that teaches a specific skill or process through step-by-step guidance. The goal is to break a complex task into clear, manageable stages that viewers can follow in real time.
Tutorial videos cover almost every topic imaginable: software walkthroughs, cooking techniques, fitness routines, design skills, and professional training. What they all share is a clear structure, a defined outcome, and a focus on the viewer's ability to replicate what they've just watched.
Platforms like YouTube have made how-to video content one of the most-consumed formats online, reaching both beginners and experienced practitioners looking to sharpen their skills.
Here is the complete process for creating a tutorial video from start to finish:
The sections below cover each step in detail.
Start by identifying exactly what you want to teach and who needs to learn it. A focused topic almost always performs better than a broad one.
Ask yourself:
If you're creating a tutorial for beginners, use plain language and define terms as you go. If it's for an advanced audience, skip the basics and get straight to the nuance. Trying to serve both audiences in one video usually serves neither.
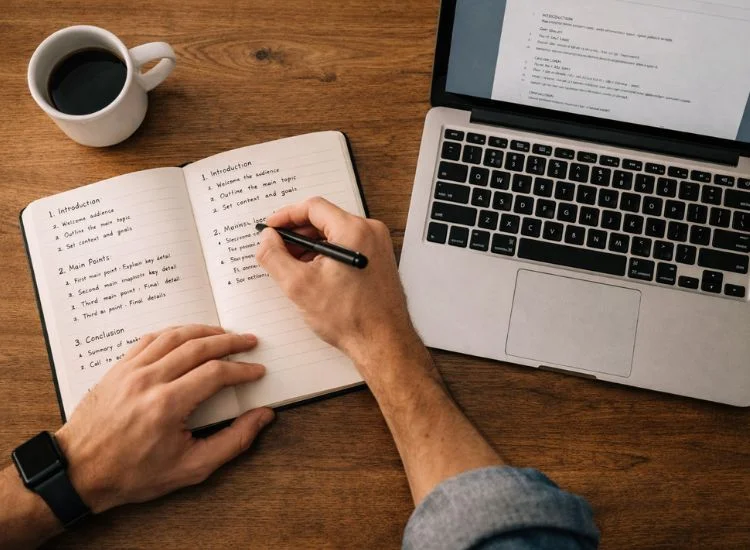
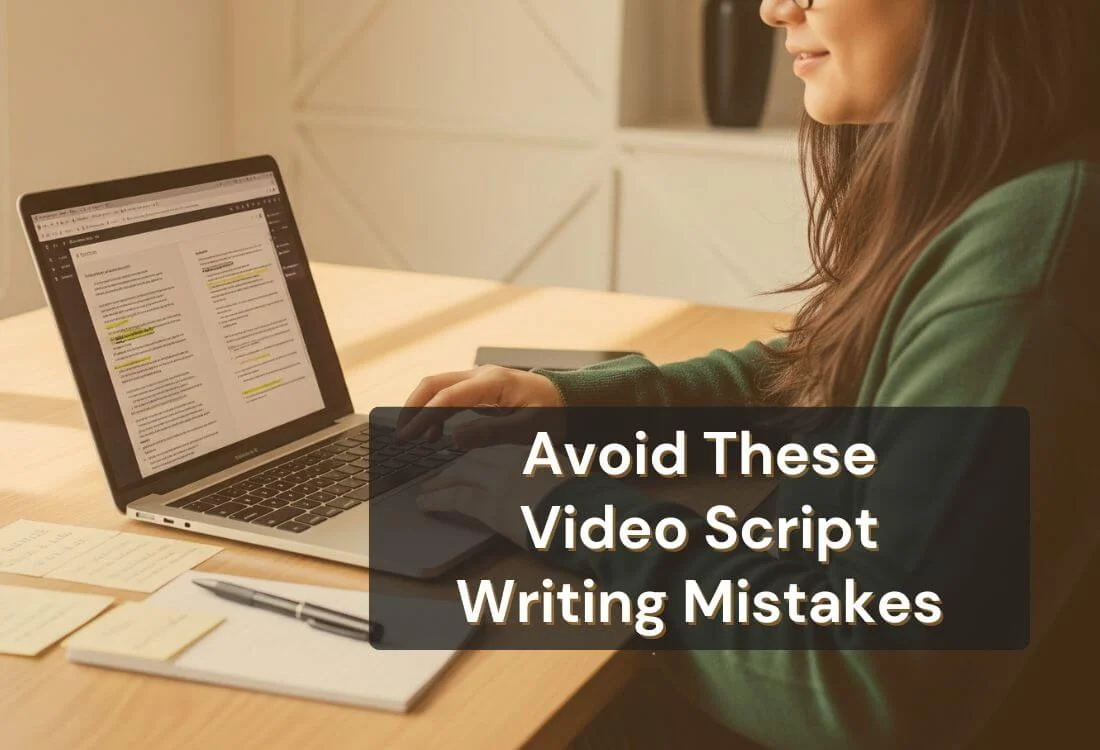
A script is the single most important element of a clear, efficient tutorial. Without one, most creators repeat themselves, skip steps, or lose the thread mid-sentence.
A strong tutorial script follows this pattern:
You don't need to write every word verbatim. But you do need to outline every step, note the key phrases to hit, and plan any visual cues or screen actions that go with each point.
For a detailed walkthrough of writing scripts that sound natural on camera, see how to write a script for a teleprompter.
If your tutorial involves on-screen actions, map out what to show at each stage. Decide when to zoom in, when to switch camera angles, and which parts need an annotated callout. This planning step saves significant editing time later.
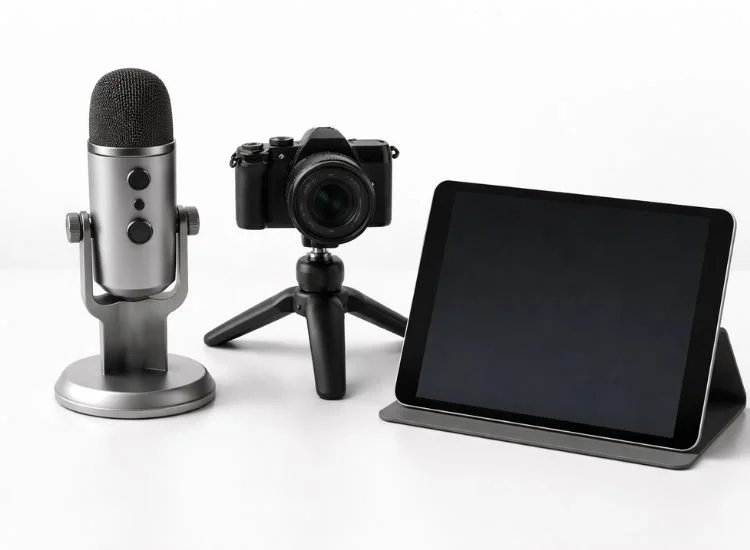
You don't need professional gear to make a good tutorial video, but you do need the right tools for your format.
Reading from notes causes creators to break eye contact. Memorizing a script causes stiff, unnatural delivery. A teleprompter app like
Teleprompter.com lets you read your script directly into the camera so you sound natural, prepared, and confident without memorizing a word. It's particularly useful in training videos and product demos where accuracy matters.
For advice on the best video editing software for YouTube tutorials, see the full comparison guide.
Your recording environment affects how professional your tutorial looks and sounds before you edit a single frame.
Good lighting is the fastest way to improve production quality without spending much. Position a window or lamp in front of you (not behind), angling slightly to one side to reduce flat, washed-out lighting. For a deeper breakdown, see these innovative video lighting techniques.
Record in the quietest space available. Close doors, turn off fans and air conditioning, and use a room with soft furnishings (rugs, curtains, books) to reduce echo. External microphones outperform built-in laptop or phone mics in almost every scenario.
Close every tab and app you don't need. Increase your display font size slightly for readability. Use a clean desktop background. Viewers need to focus on your demonstration, not background clutter.
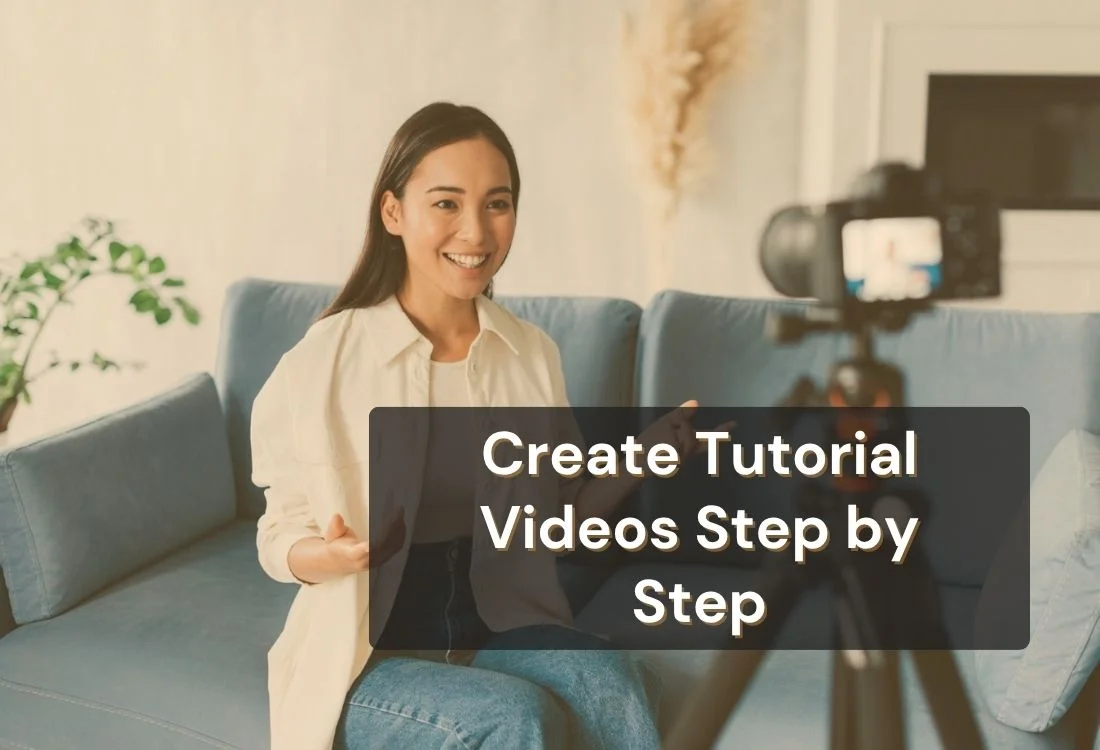
Recording gets easier with preparation. The goal is to capture a clean, usable take, not a perfect one.
If your tutorial involves speaking directly to the camera, you’re essentially working in a talking head video format, where clarity, eye contact, and natural delivery matter more than perfection. You can learn more about structuring this style in a talking head video setup guide.
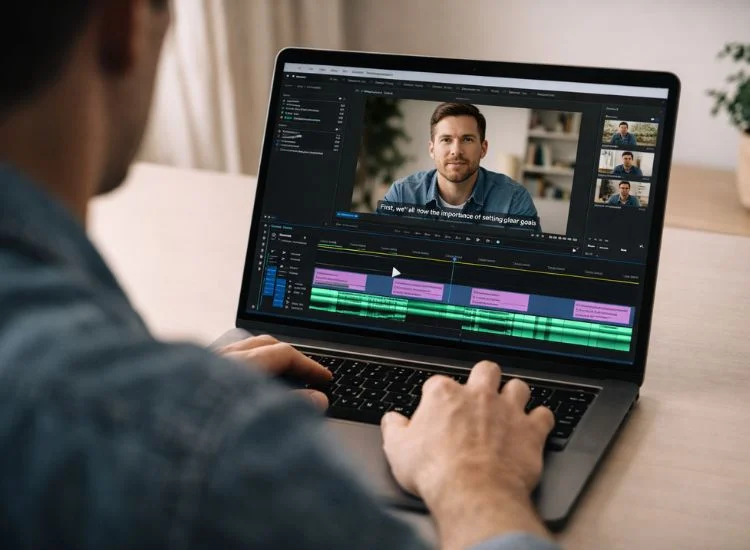
Editing is where a rough recording becomes a polished tutorial. Focus on clarity and pace, not effects.
Export in MP4 format for maximum compatibility. For YouTube, 1080p at 24–30fps is the standard. For software tutorials with fine text, 1440p or 4K improves readability significantly.
For creating videos that hold up professionally across platforms, see how to create professional videos.
Publishing is where your tutorial starts earning views. The metadata you write is as important as the video itself.
Use your primary keyword in the video title, description, and first tag. Write a description of at least 200 words that explains what the viewer will learn. Add timestamps (chapters) for every major step; YouTube uses these for featured snippet placement.
Share your video in the communities where your target viewer already spends time: Reddit threads, Facebook groups, Discord servers, LinkedIn posts, or newsletters. Respond to every comment in the first 48 hours; early engagement signals boost algorithmic reach on most platforms.
For long-term growth, consistency in video content creation matters more than any single video's quality.
Making tutorial videos comes down to three things: knowing your topic, delivering it clearly, and presenting it in a format your viewer can follow. The gear and platform choices matter less than most beginners assume. A focused script, decent audio, and good lighting will produce a better tutorial than expensive equipment paired with poor preparation.
Start with one topic, script it out, and record your first take. You'll find your delivery improves faster than you expect.
Your script is ready. Now record it confidently, try Teleprompter.com free today.
At minimum, you need a camera or smartphone, a microphone, and good lighting. For software tutorials, add a screen recording tool like OBS Studio or Loom. A teleprompter app helps you deliver your script naturally without memorizing it or looking away from the camera.
For simple topics, 5–8 minutes is the target. For complex, multi-step processes, 10–20 minutes is acceptable. The key is covering everything the viewer needs without padding. Viewers will leave if the pacing drags; shorter, complete beats become longer and unfocused.
Yes, for most tutorial formats. A script keeps your explanation structured, reduces retakes, and ensures you don't skip critical steps. It doesn't have to be word-for-word; a detailed outline with key phrases works well. Pair it with a teleprompter app to deliver it naturally on camera.
The most effective structure is: a short hook explaining what viewers will learn, a brief overview of the steps, a step-by-step walkthrough with visuals, and a closing summary with a clear next action. This format matches what viewers expect and what search engines favor for how-to content.
The terms are often used interchangeably. Tutorial videos tend to be more instructional and sequential, teaching a skill from start to finish. How-to videos are often shorter and task-focused, showing one specific action. Both use the same production approach and benefit from clear scripting, good audio, and structured delivery.
Speak directly to your viewer, use clear visuals, and cut anything that doesn't move the lesson forward. Add chapter markers, show your face when relevant, and include text callouts for key steps. Viewers engage more when they feel the creator is present and organized, not reading from a document or winging it.
Yes. Modern smartphones record in 4K with capable built-in stabilization. The audio is the bigger limitation; add an inexpensive lavalier mic, and your smartphone setup will outperform most entry-level webcams. Shoot in landscape orientation and use a tripod or stand for stability.