
Changing resolution is available for iOS, macOS, Web and Android versions
With Teleprompter.com, you can easily adjust your video quality before recording to match your project needs—from quick demos to professional content in full 4K.
Here’s how to do it:
- Go to the Scripts panel
- Tap on the script you want to use
- Use the button in the top right corner to switch to video recording mode
- On the recording screen, tap the camera icon
- Choose your preferred resolution: 720p, HD, or 4K
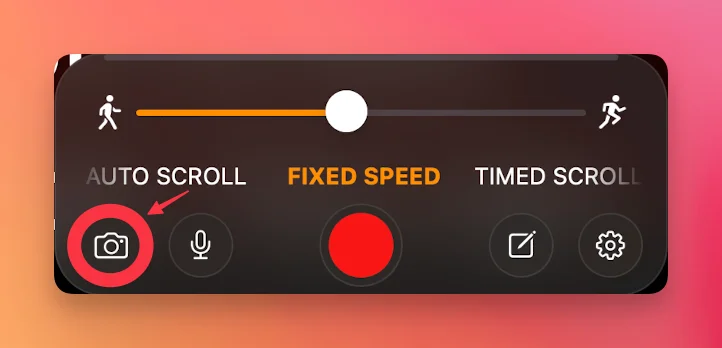

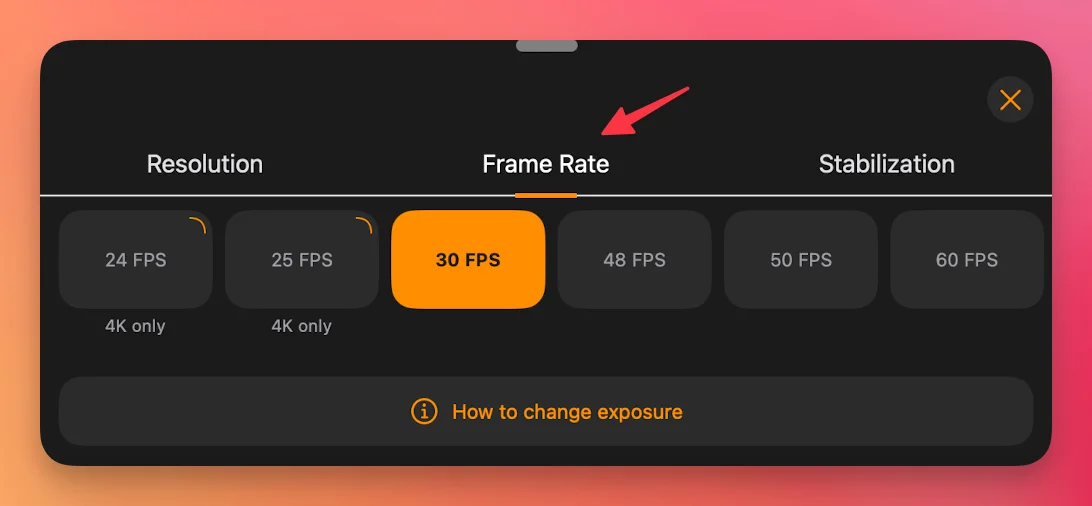
You can also fine-tune other video settings in this menu:
- Frame Rate: Adjust the frame rate for smoother or more cinematic footage
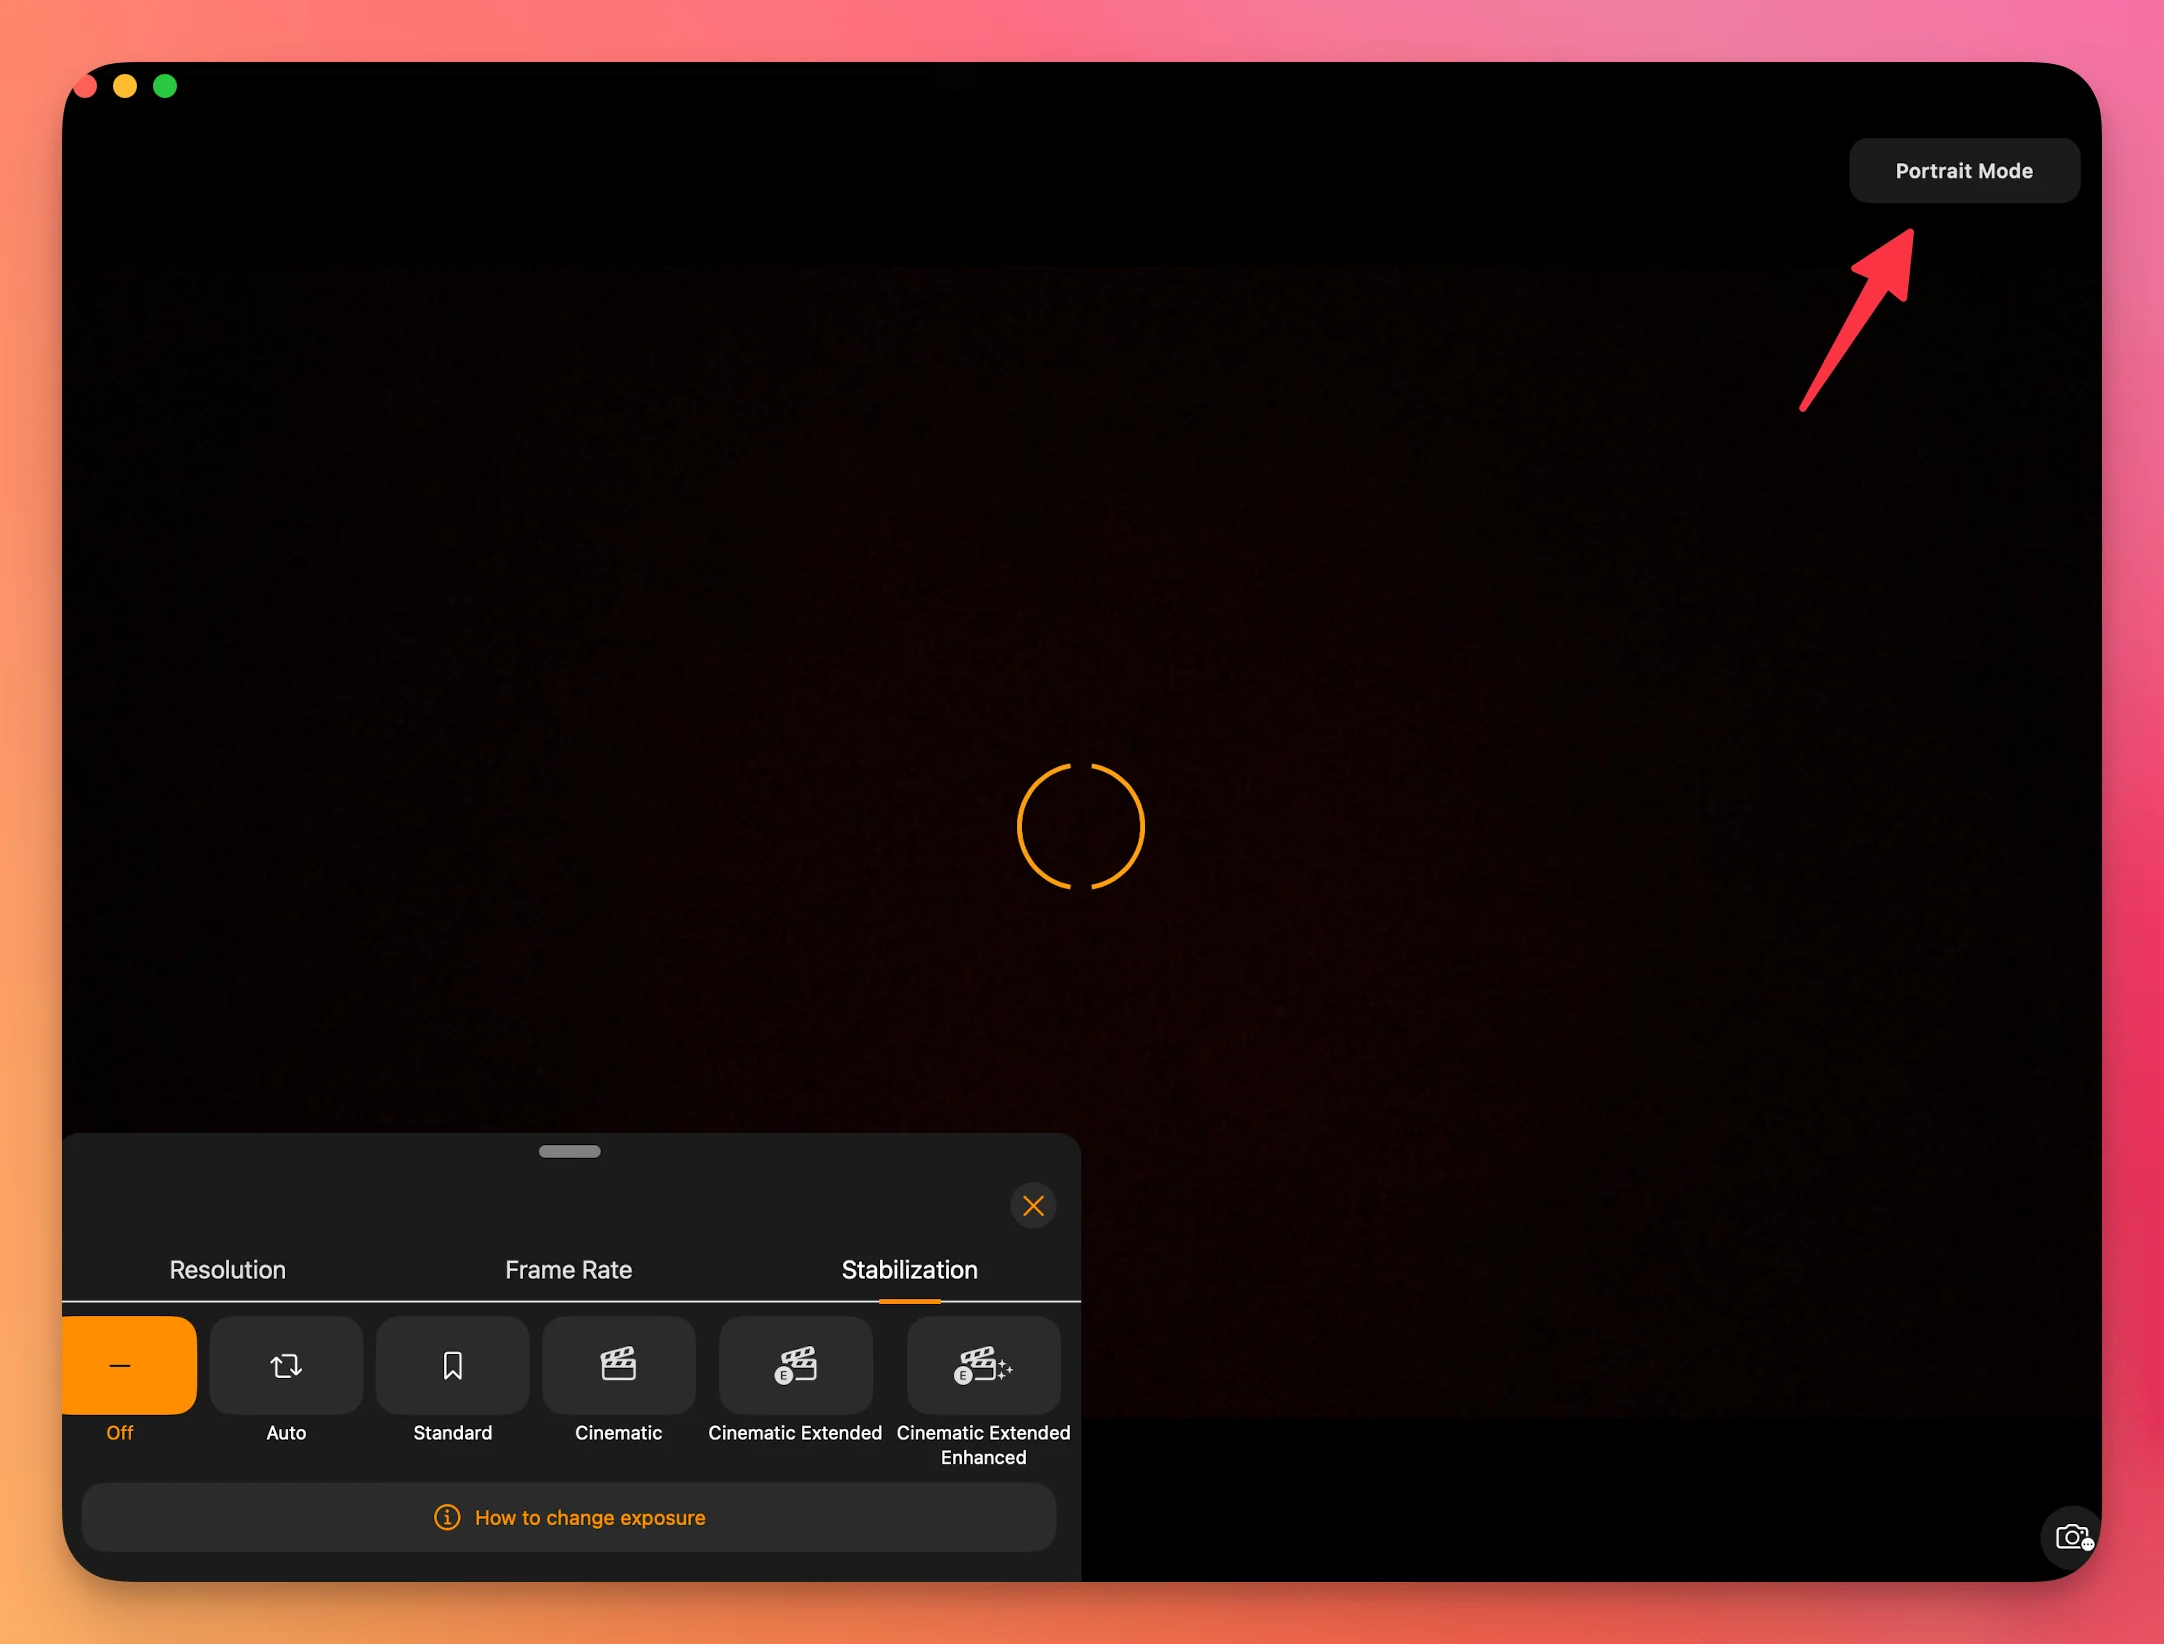
- Stabilization: Choose from options like Off, Auto, Standard, Cinematic, Cinematic Extended, and Cinematic Extended Enhanced
Using Portrait Mode
- Tap the PORTRAIT button to enable it
- Use the depth bar to increase or decrease the background blur
- Adjust Studio Light to enhance facial lighting
- To turn off Portrait Mode, simply double-tap the PORTRAIT button.
Note: starting with iOS 26, Portrait Mode is called Cinematic Mode on supported iPhones. See How to Disable or Enable Portrait (Cinematic) Mode for the full steps.
On the Web Browser Version:
- Go to https://app.teleprompter.com and sign in
- Navigate to the Scripts panel and click on your chosen script
- Click on Record
- The recording screen will open directly above the prompter
- Locate the HD icon
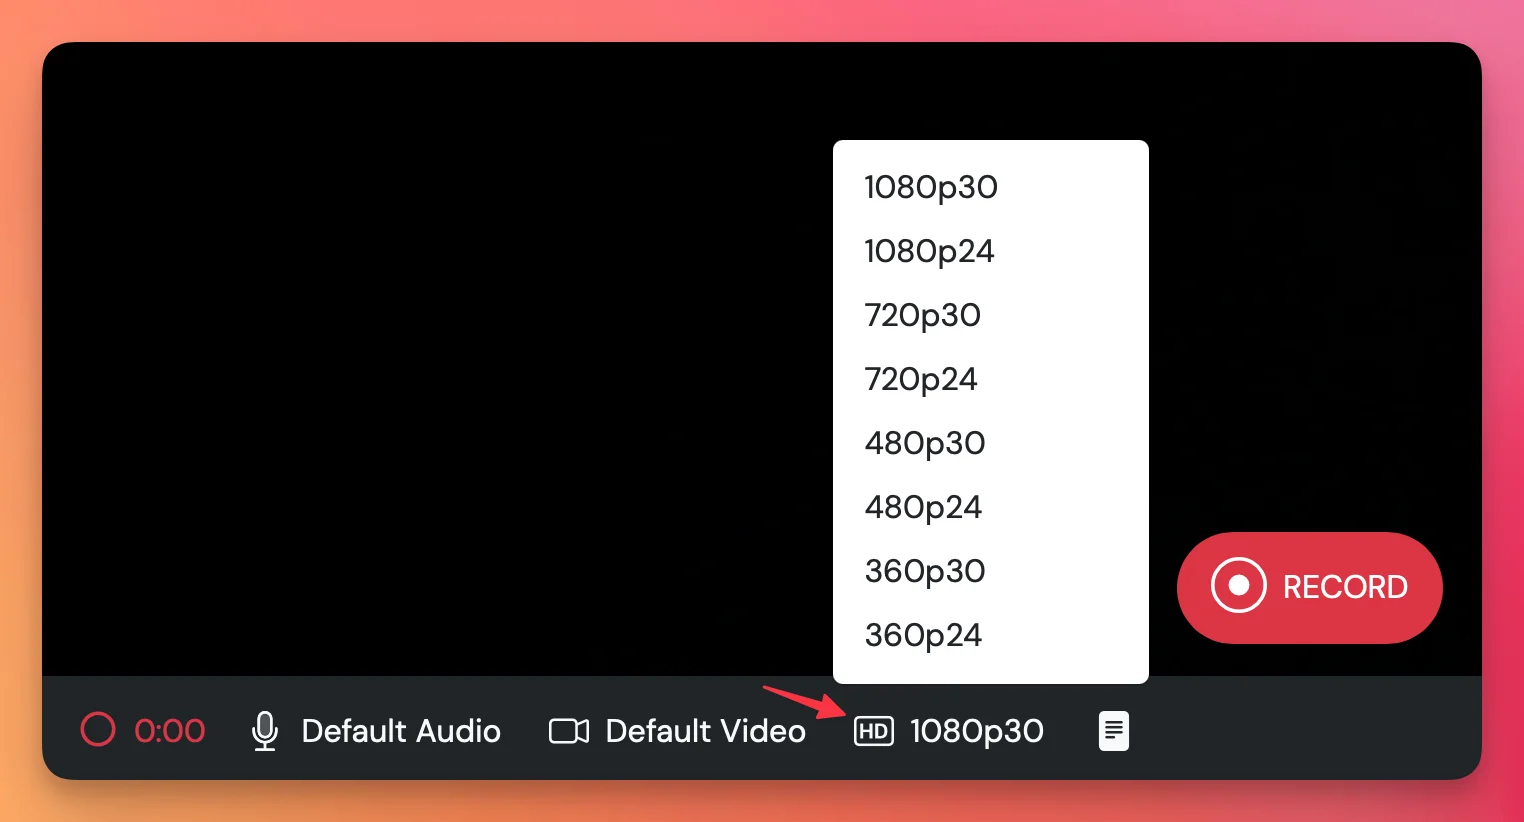
- Click on it to select your preferred resolution from the following options:
- 1080p30
- 1080p24
- 720p30
- 720p24
- 480p30
- 480p24
- 360p30
- 360p24
Choose the format that best matches your platform, lighting, and performance goals.


.png)


.png)